
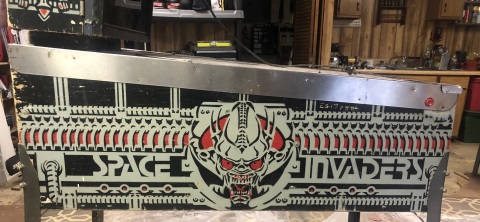
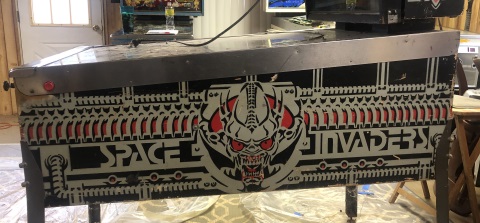
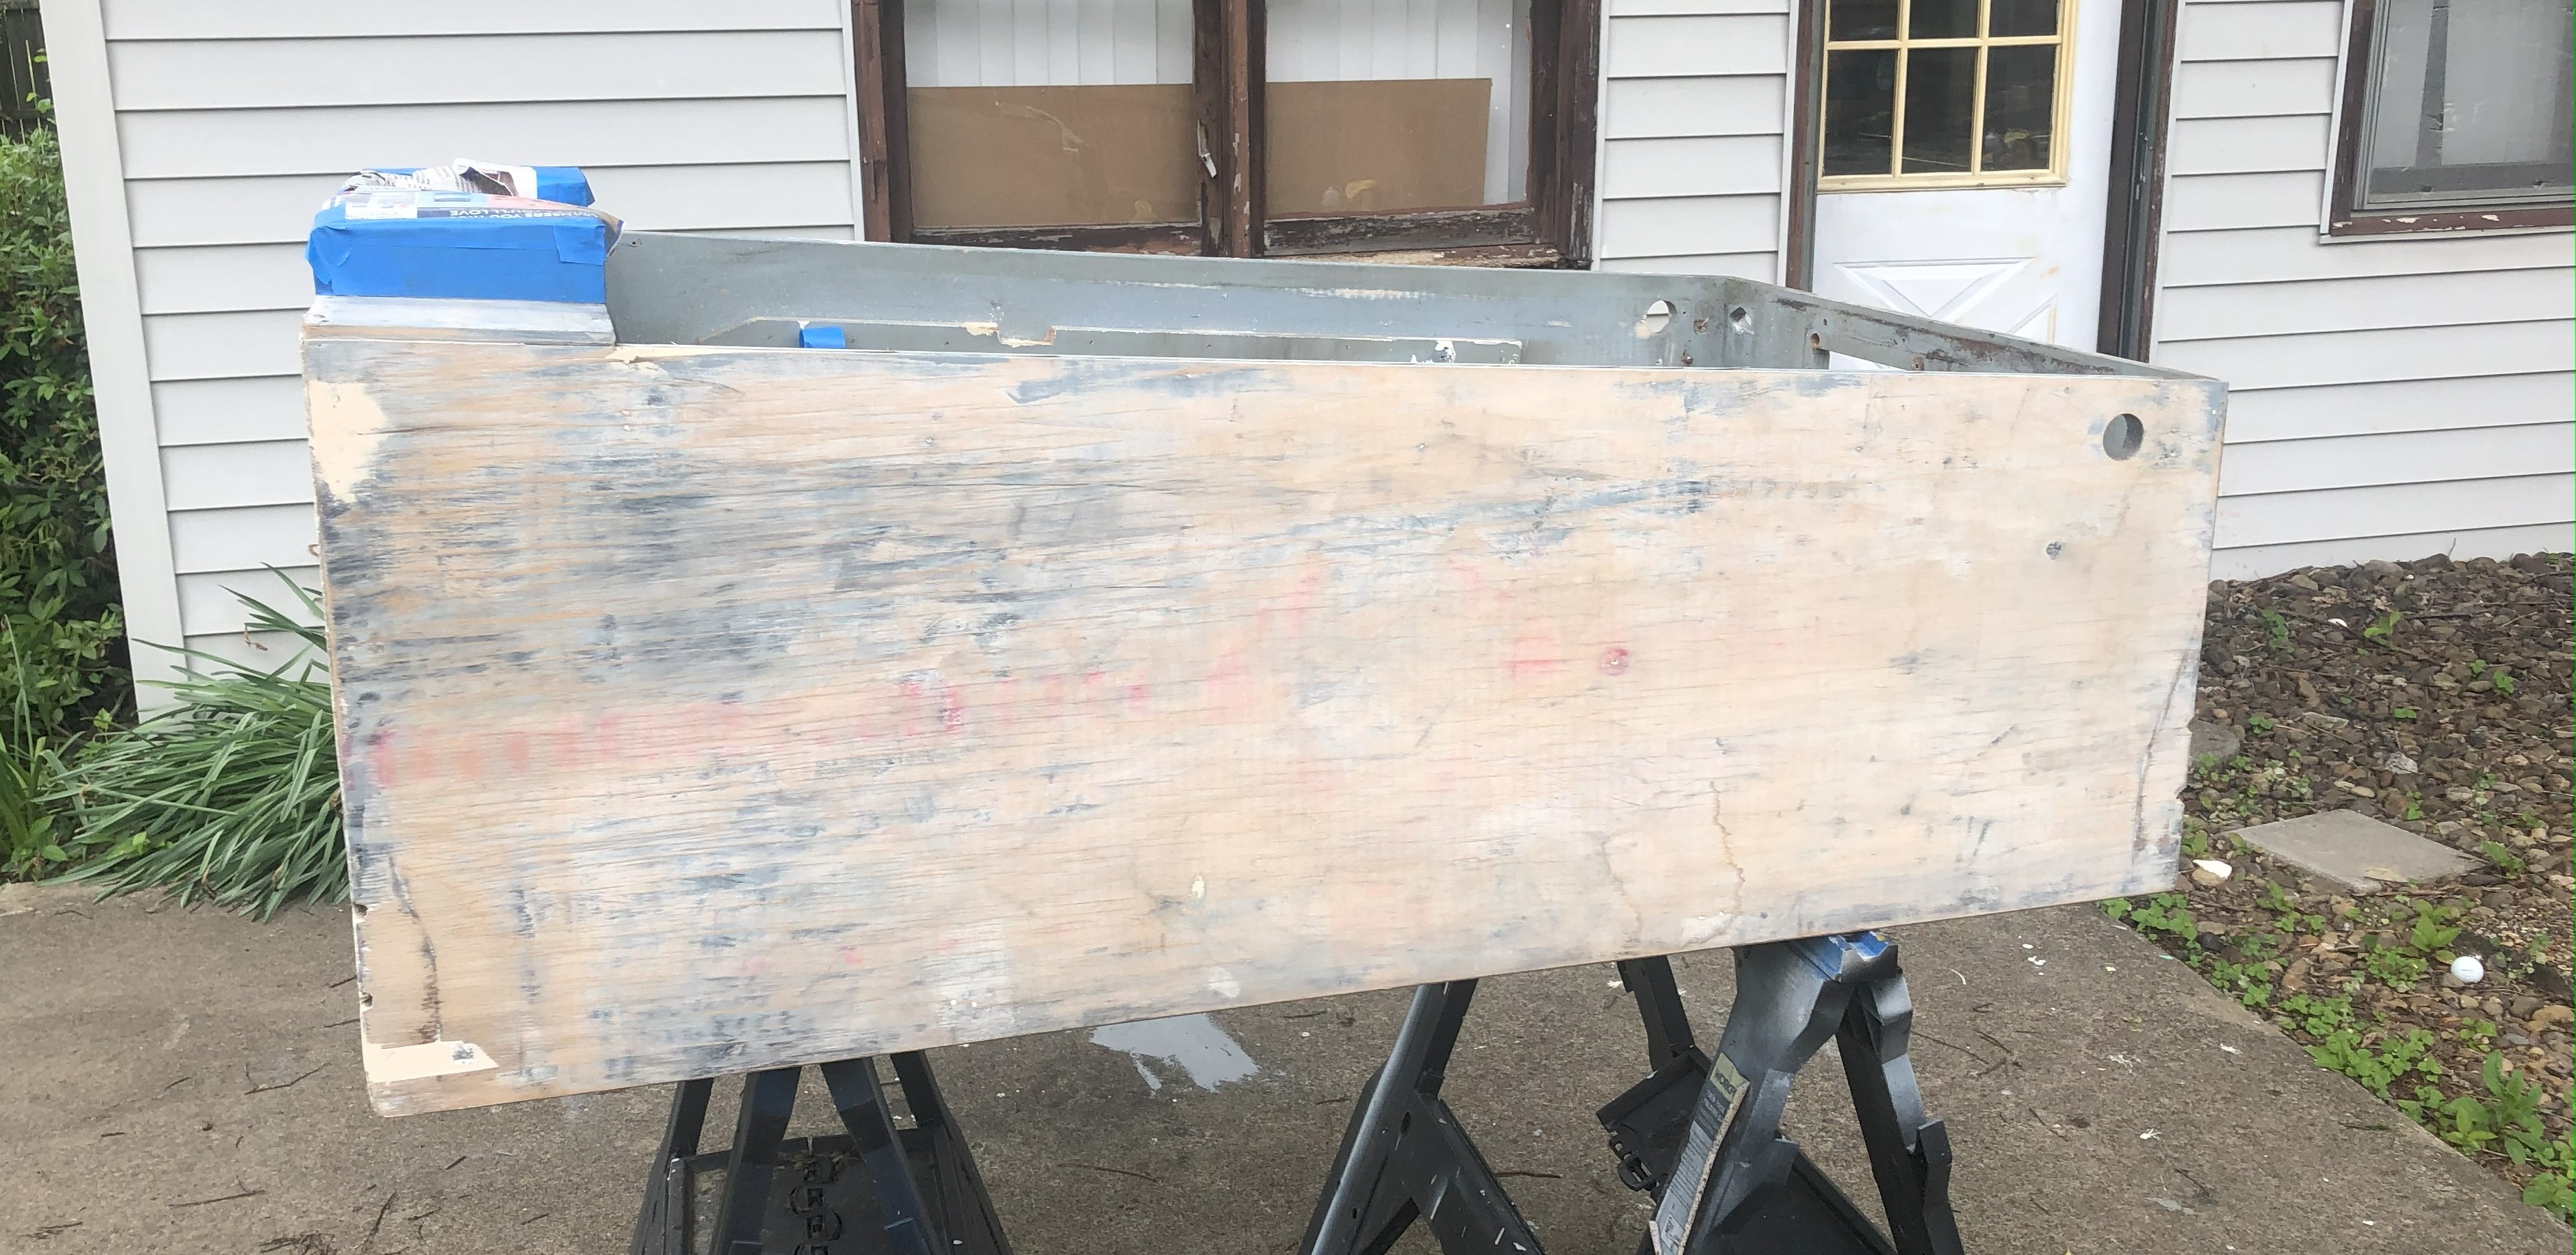
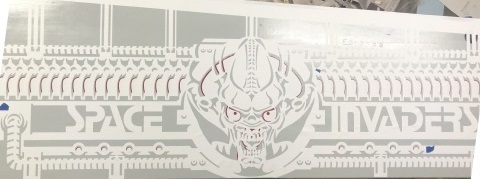
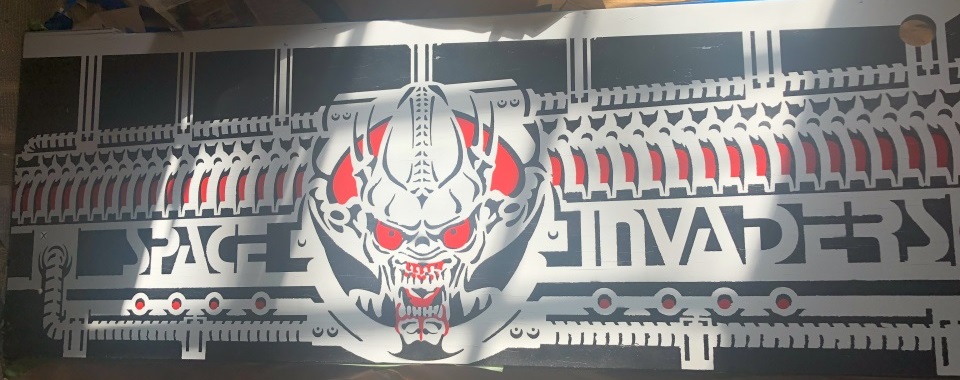
Above are pictures of the original cabinet. While it had some wear at the rear corners and in the front under the flipper buttons, I probably would not have repainted it if I wasn't putting on the new playfield overlay. I figured the new overlay would make the game look new so I decided I needed to paint the cabinet also.
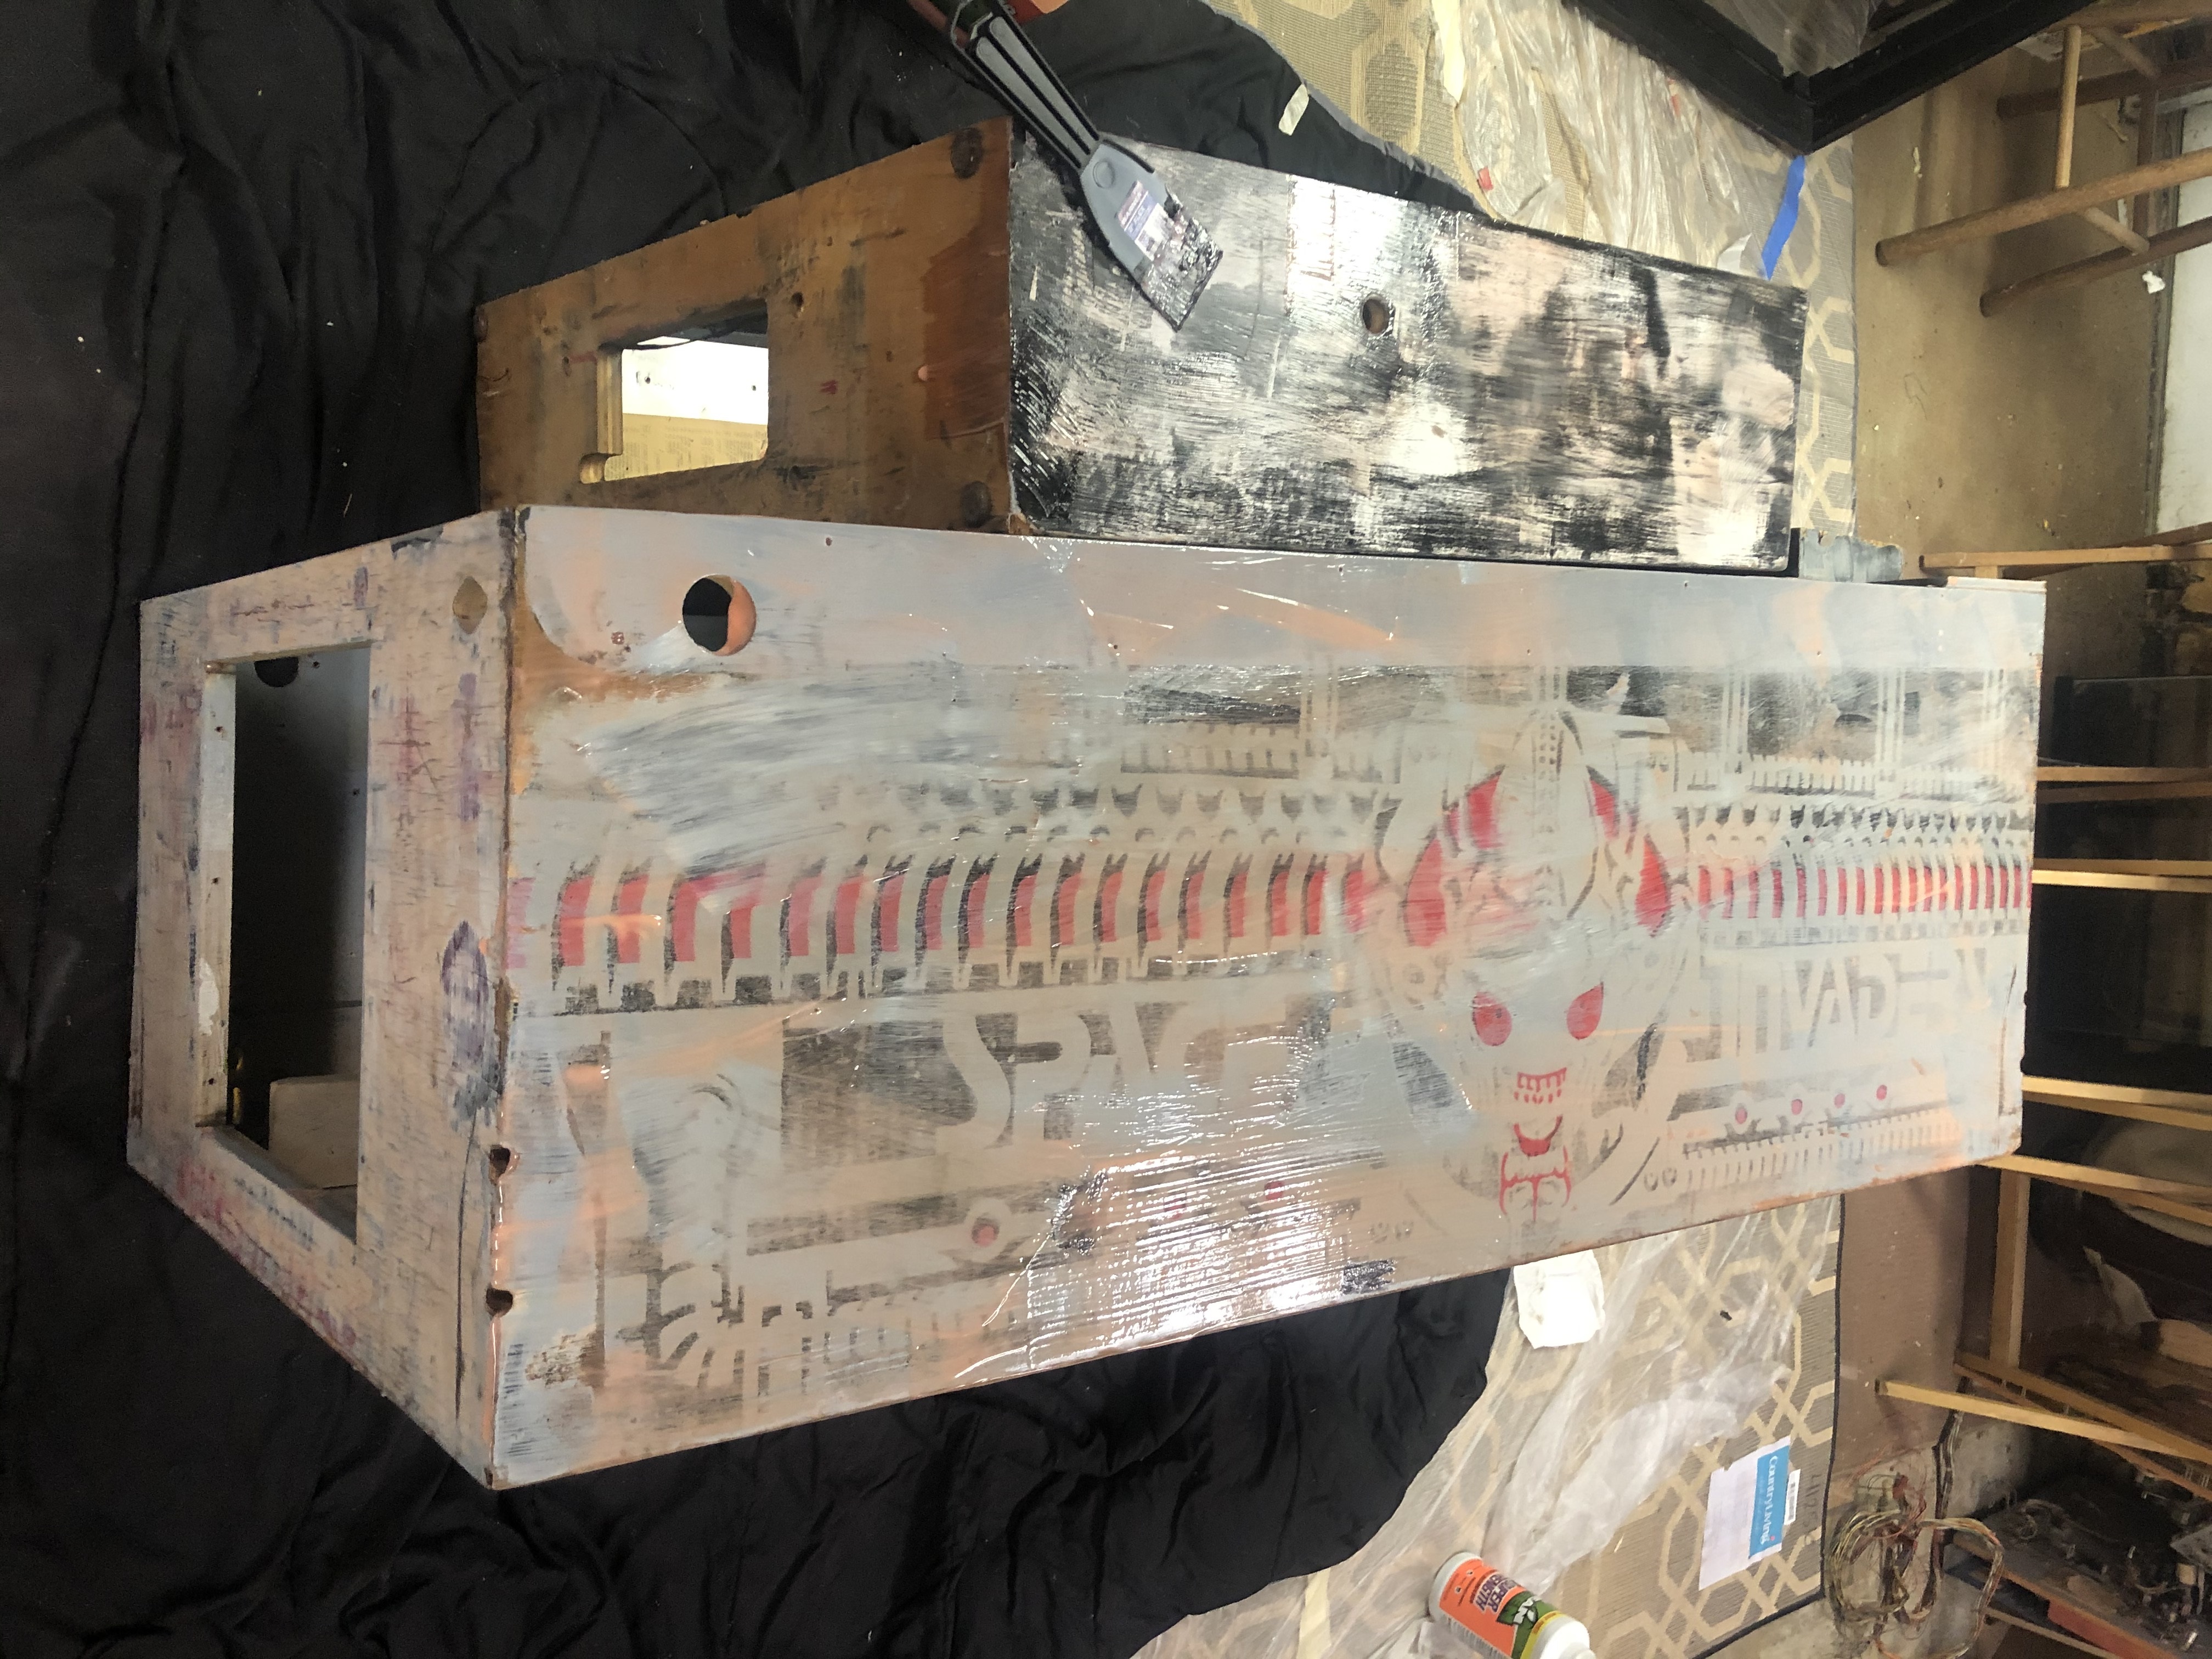
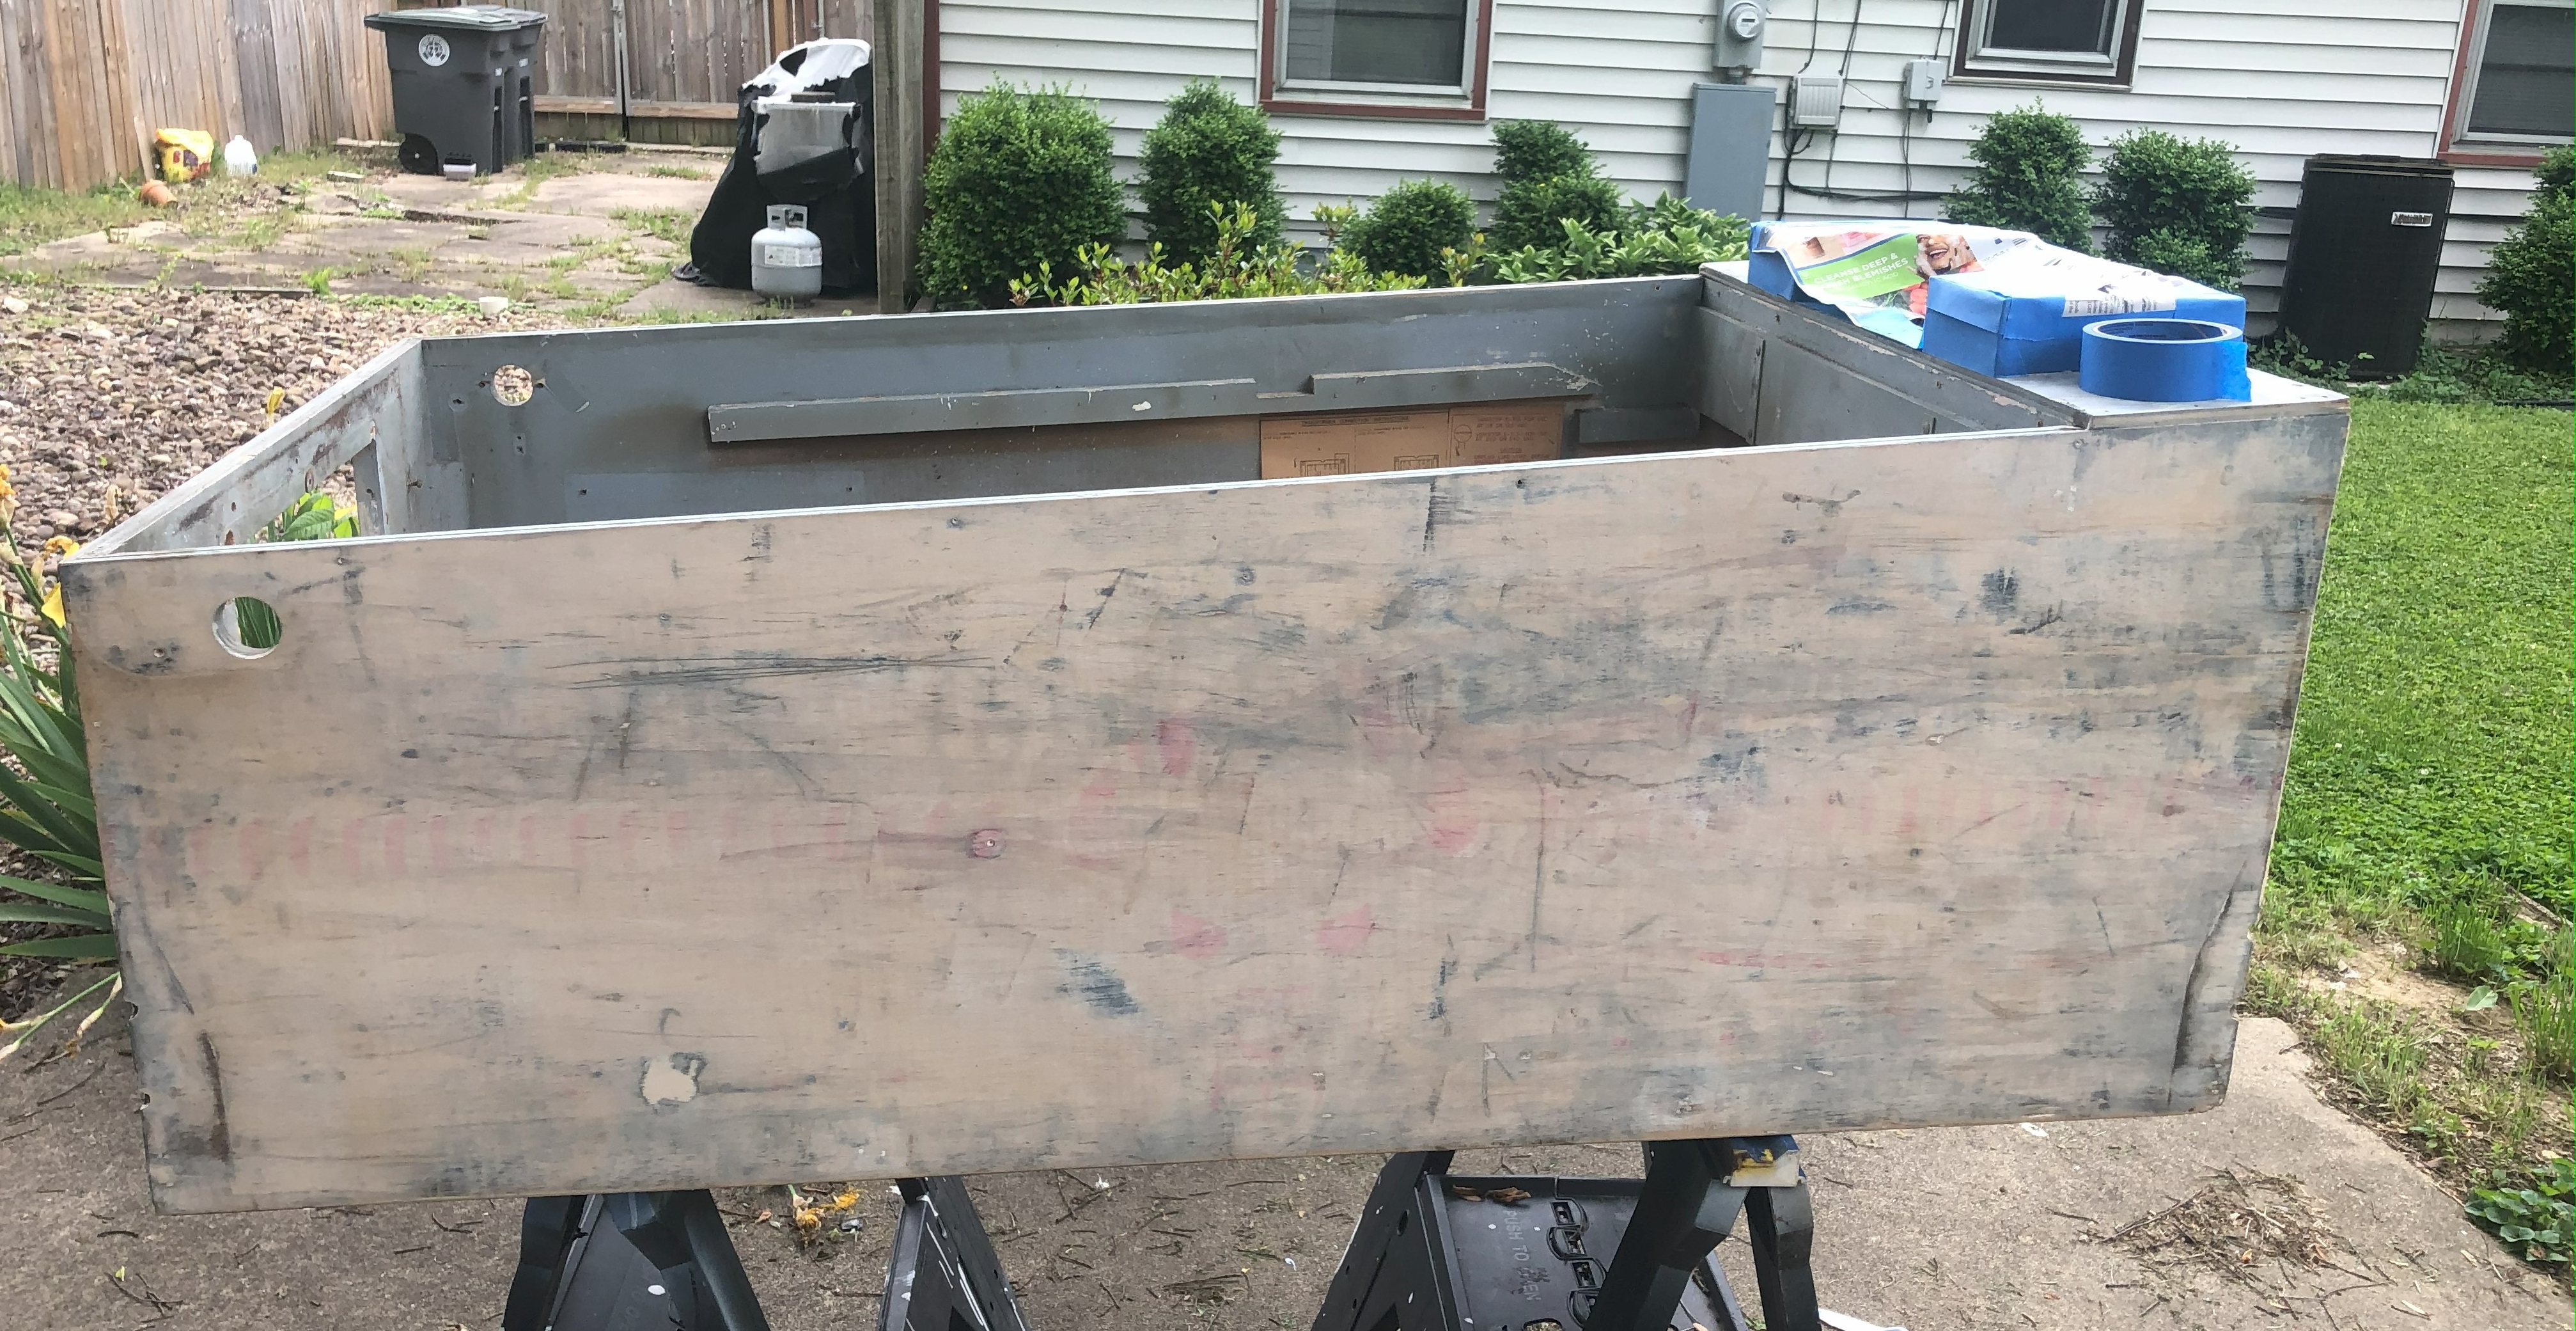
The two pictures above show the cabinet as it is being stripped. I used Citrus Strip. It is safe to use indoors and outdoors. It doesn't have any fumes AND it works really well.
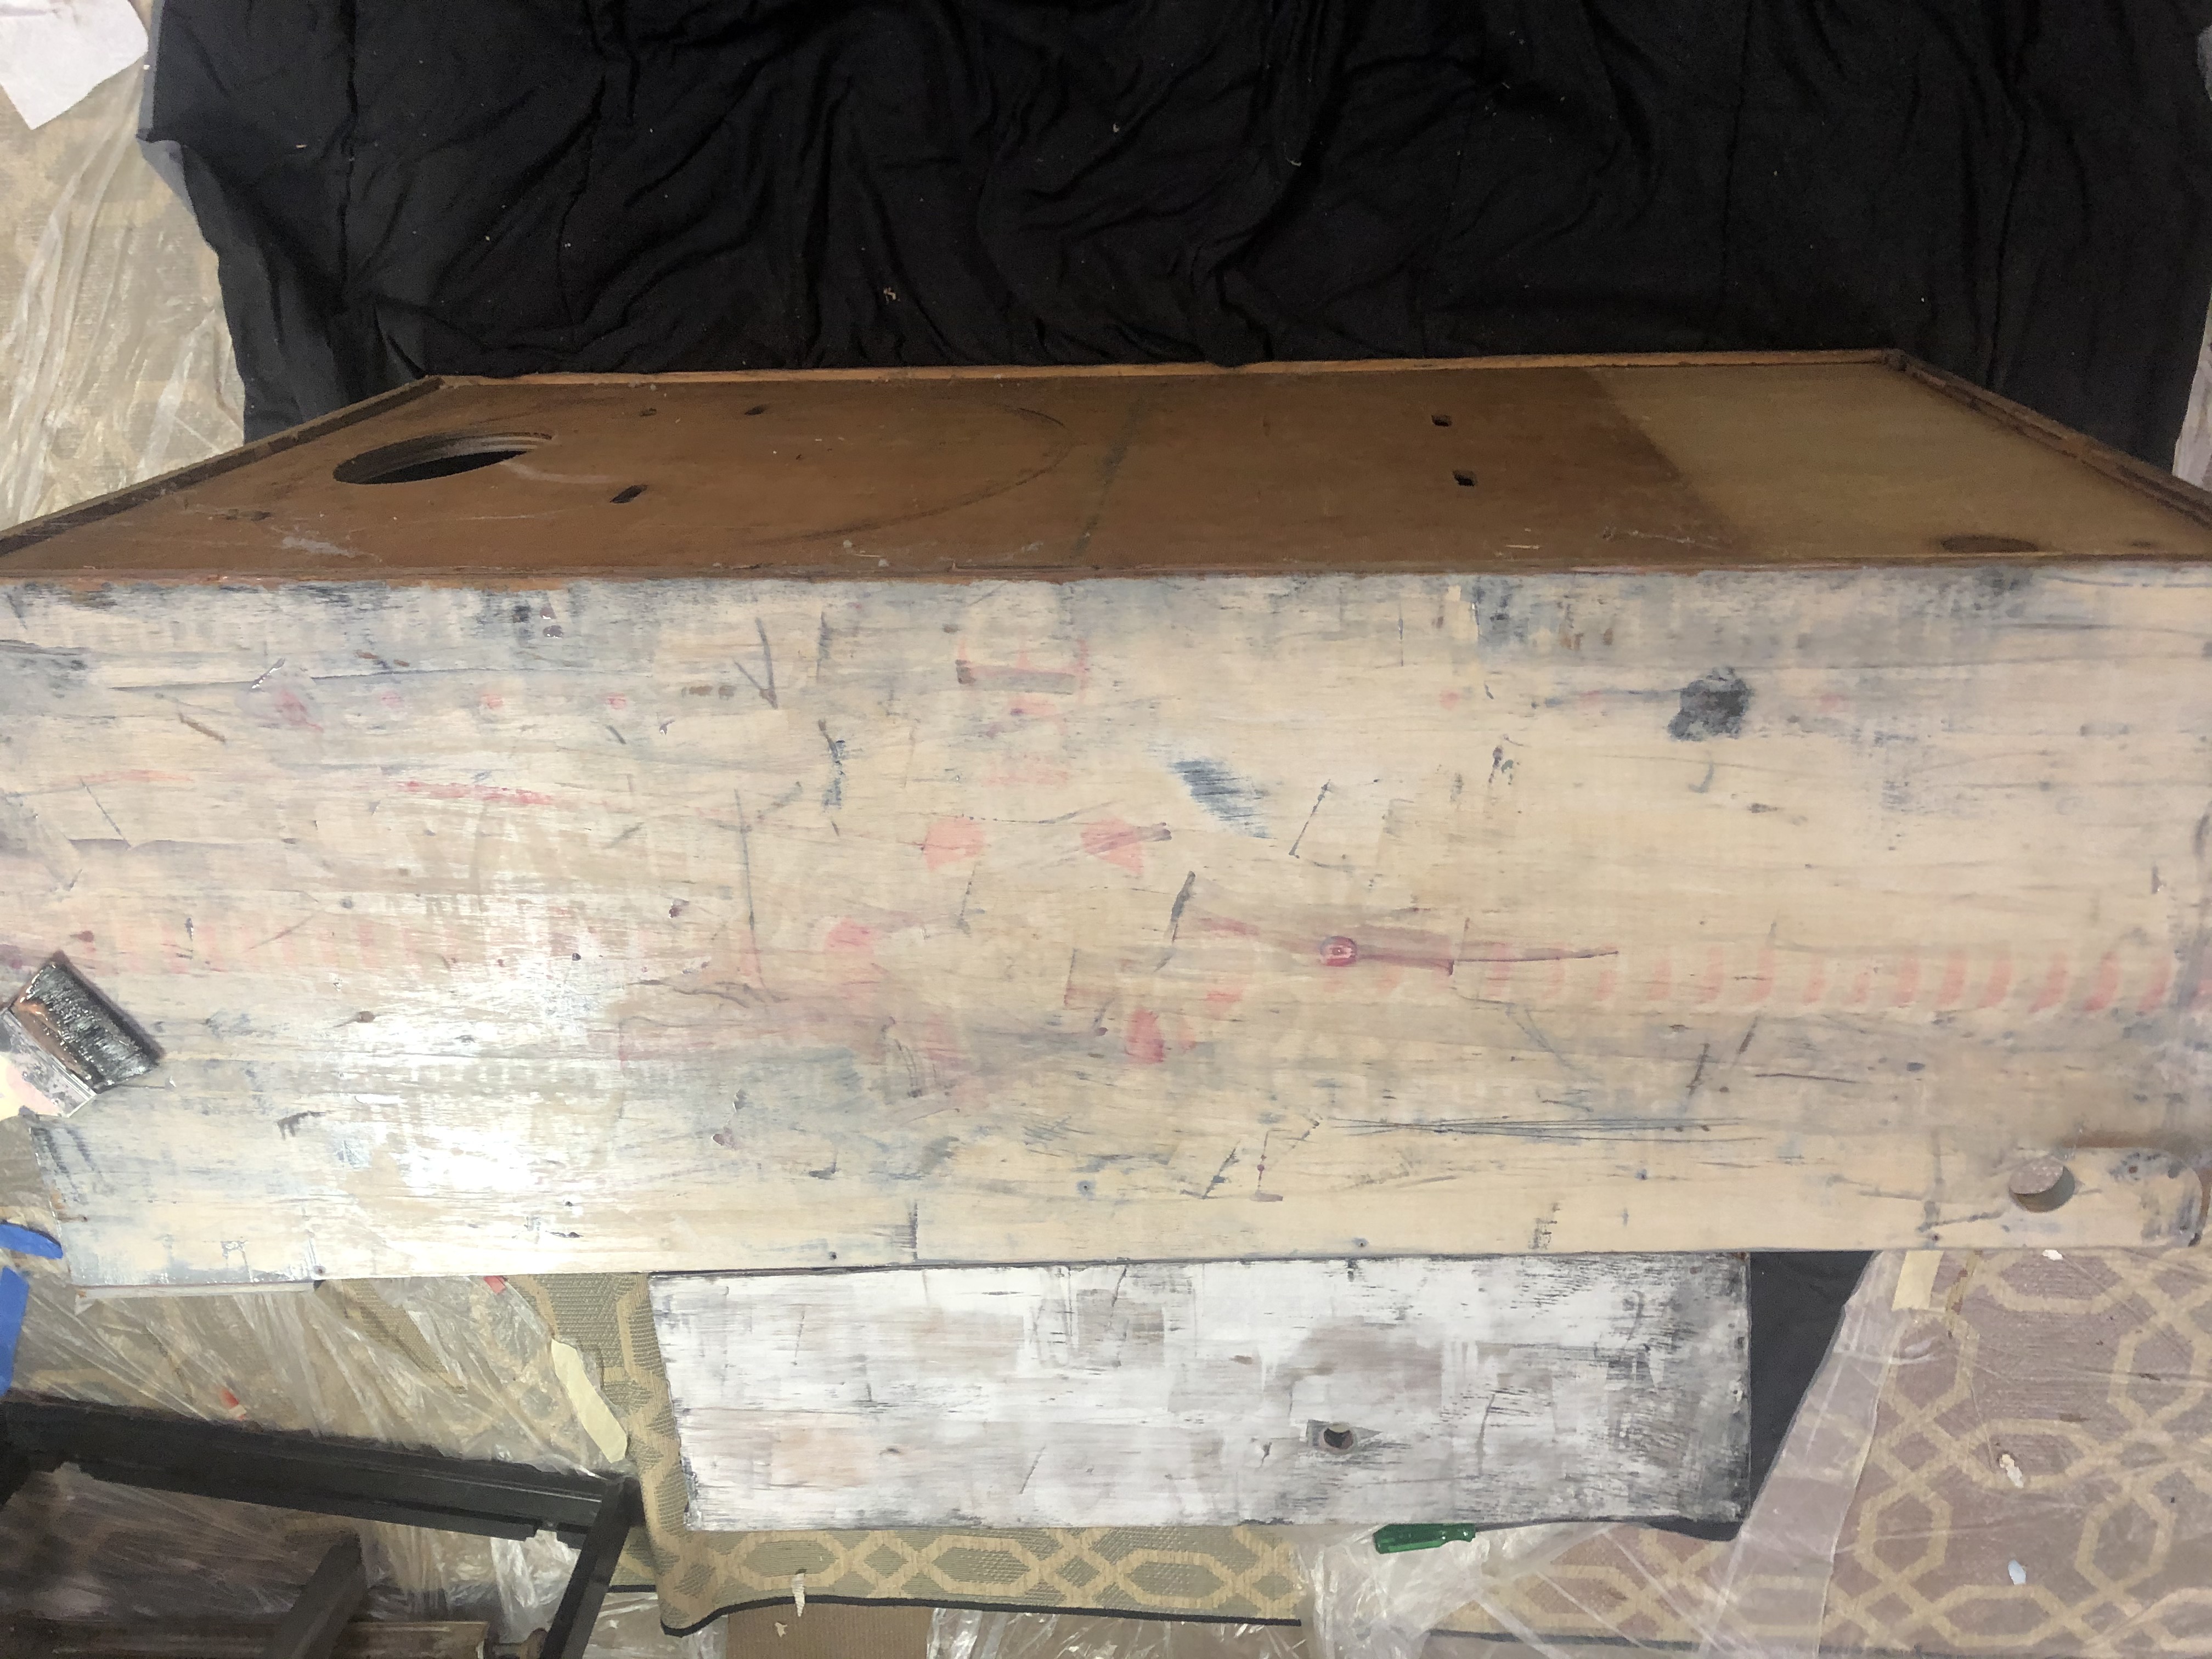
The two pics above show the cabinet after it has been stripped. Next, step is to sand it a bit more before putting on the base coat of gray paint. Pinball manufacturers did not use a primer coat before putting on the base coat. I, however, usually do apply a primer coat.
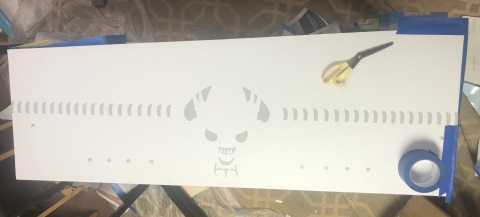
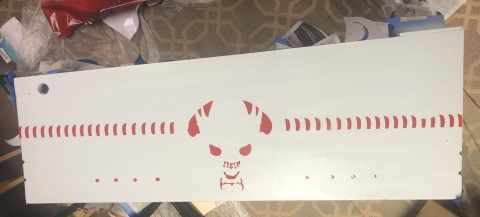
Above left is one side of the cabinet with the red mask on. I found it interesting that the red was applied before the black. Above right is how the cabinet looked after painting the red. Note that two of the red "half moons" on this particular side had some paint come off when I removed the mask. I was going to touch this up myself after applying the black, but then the black became a disaster and everything had to be redone. The left side didn't have any issues.
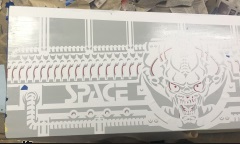
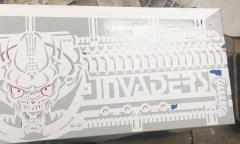
The three pics above are of the left side after I have applied the mask for the black paint. Note the pieces of blue masking tape. These are covering the positioning marks that are in the mask. This is an open area that you align with the mark from the previous mask.
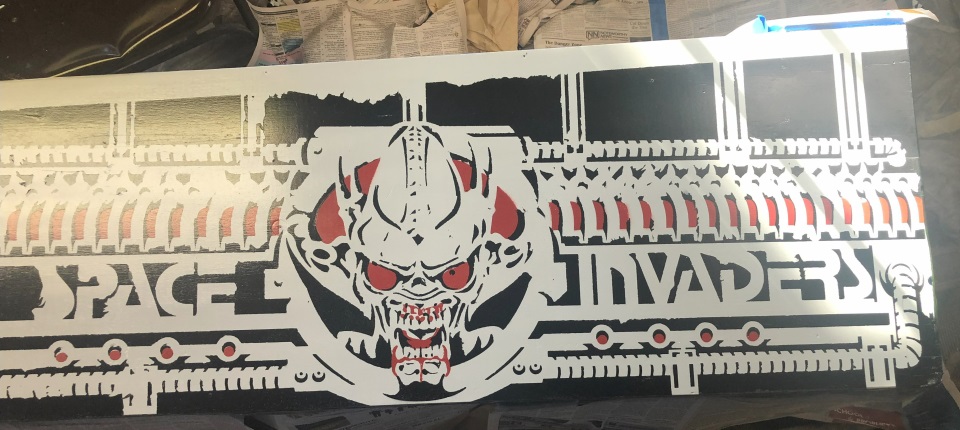
My Major Painting Disaster! As I explained in the detail pages, painting the head, the front, and the left side went well except for a couple of minor hiccups that were easy to fix. But, the right side was a disaster. I'm glad that this didn't happen at first as it would have discouraged me from using the stencils. You can see all of the areas that the black paint pulled up and off as I was removing the mask. Not sure if it was a bad can of paint or if the conditions in my work area were different this time around, causing the drying time to be faster than when I did the other sides.
In summary, when you paint with the stencils, you have to time the mask removal correctly. You cannot remove the mask too quickly or allow it to remain on too long. If you remove it too quickly while the paint is "too wet," it will cause little strands of paint to form that will fall on your work and make the edges look sloppy. If you allow the paint to dry too long before removing the mask, you will pull up the new paint, which is what happened here. In my case, I think the conditions in my work area changed causing the paint to dry quicker than the previous times. Anyway, this was such a disaster that I had an artist friend hand paint this side of the cabinet. His work turned out great as you can see below.
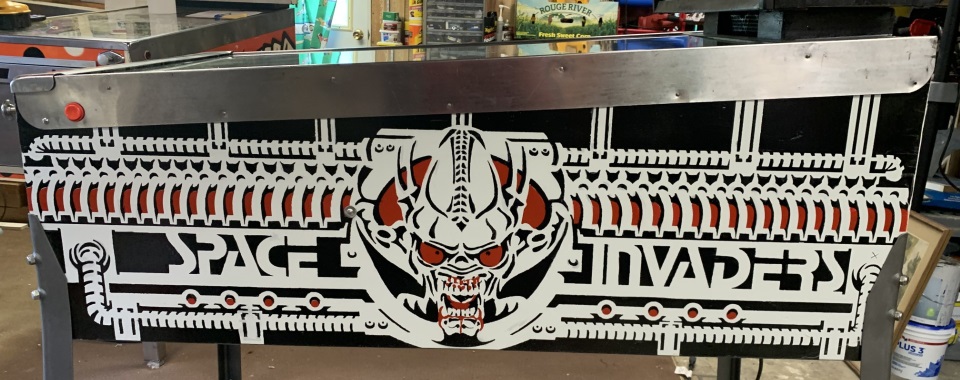
Above are the left and right final results. Notice how well my artist friend covered up the disaster I had made. He did a great job.