
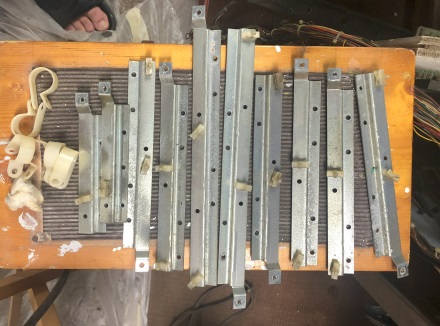
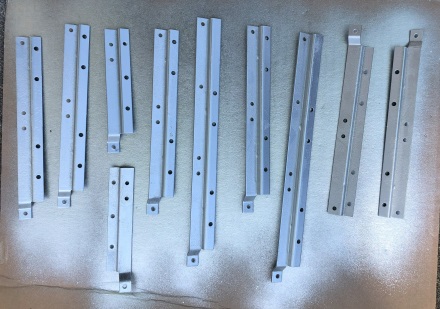
These are the circuit board brackets in the head of the cabinet. I removed them and repainted them.


As you can see in the top picture, this was completely rusted. I removed this and soaked it in rust remover for over 24 hours. I then repainted it using a chrome color.


The lock down bar rubberized padding had completely worn off. I cleaned the underside and then added weatherstripping to act as a pad and sealer.
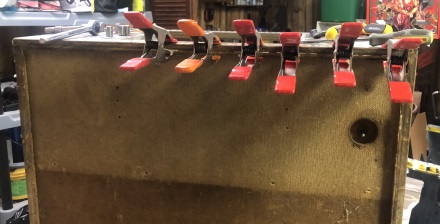
The front underside of the cabinet was damaged. I repaired this using wood glue, bondo, and filler. Here the clamps are holding the "laminated" pieces of wood together after being glued.
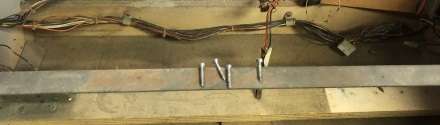

This is the internal bar that runs across the width of the cabinet to give it stability. Since everything else was getting painted, I decided to paint it also. Note that this bar has a bolt head on the outside of the cabinet that comes through the cabinet and screws on. I think this bar was only used on wide-body games.
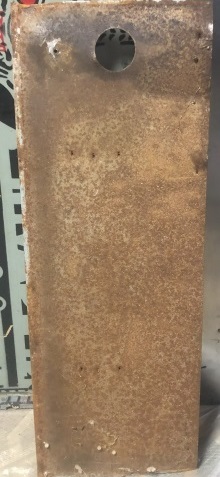
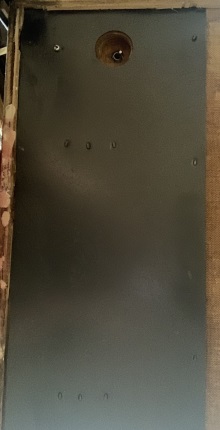
On the front underside of the cabinets from this era is a thin sheet of metal. Its purpose is to prevent people from breaking through the wood and accessing the coin box, basically a theft protection measure. This one was completely rusted. I sanded and stripped this (a lot of work). I then decided to paint it black since that was one of the colors on the cabinet. Note the hole for the on/off switch.
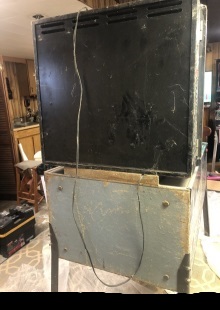
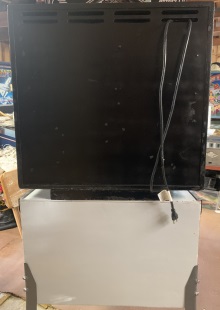
This is the before and after pics of the rear of the cabinet. In the after pic you can also see the new heavy duty cord I used to replace the old, thin, line cord. Note also that I have not installed the white plastic grommet protectors on the rear. When I took the pic I only had two of the four needed.