

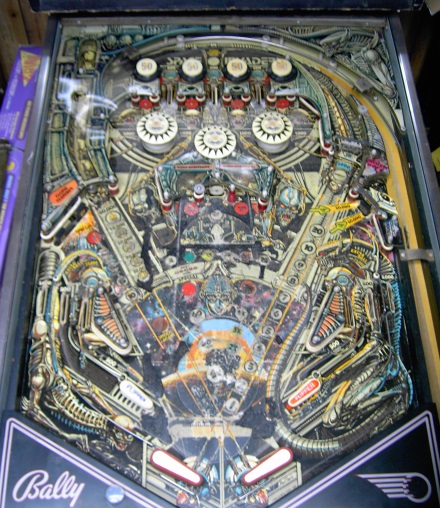
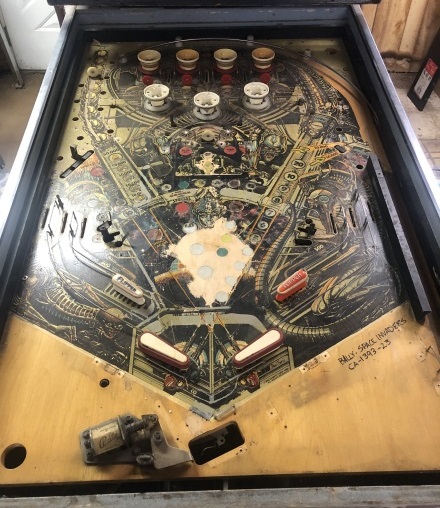
The playfield, like in most Space Invaders, was in pretty bad shape. It had a large area in the center that was worn to the wood. The previous owner had colored this in with black. The closeups a little lower on the page show this in better detail. I sanded this area just to get an idea of how large it was.
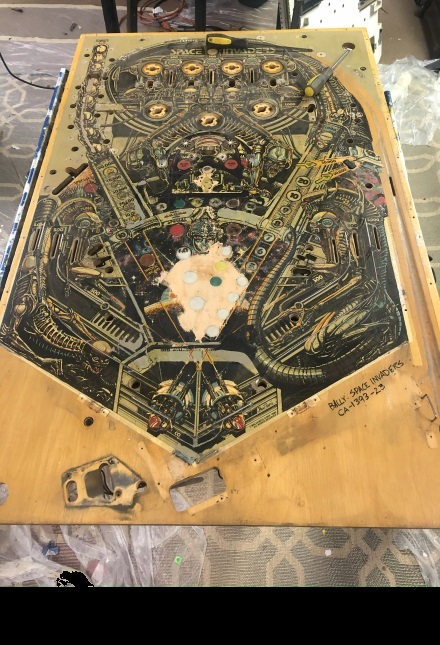
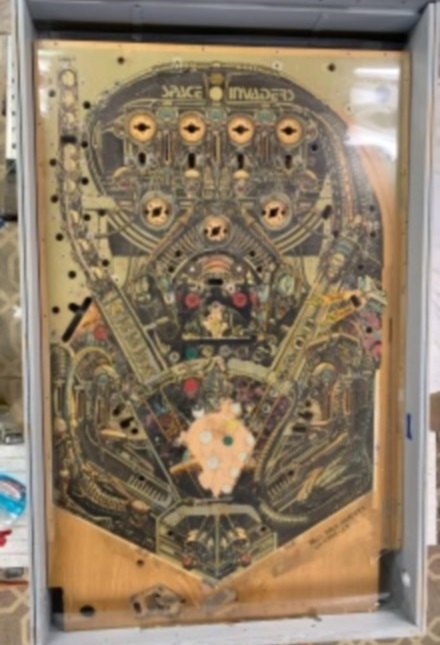
The two pictures above show the playfield after all of the parts have been stripped off the top. In the pic on the right, you can see the clear acetate sheet I used to create a hole template. Note that I put the playfield back into the cabinet as it was a natural cradle to hold it. I then secured the acetate to the playfield and carefully marked the edges and every hole. This will be used to find the screw and wire form holes after the overlay has been applied.
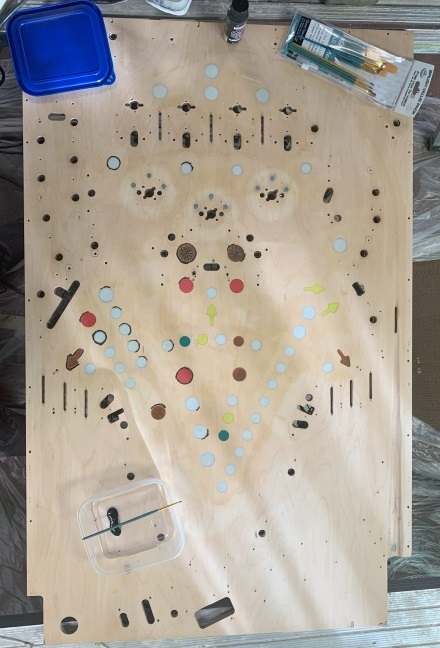
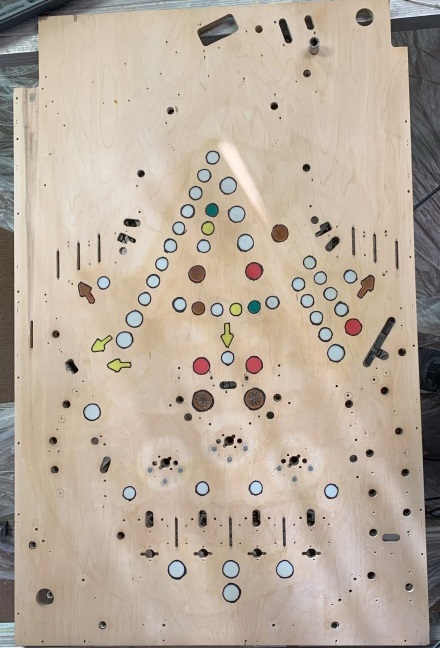
The two pics above show the playfield after I had sanded it down to the bare wood. In the first pic I have the paint brushes out ready to outline the light inserts. The second pic is after I have done the outlining. This will help "mask" areas where the overlay may not match the playfield exactly.
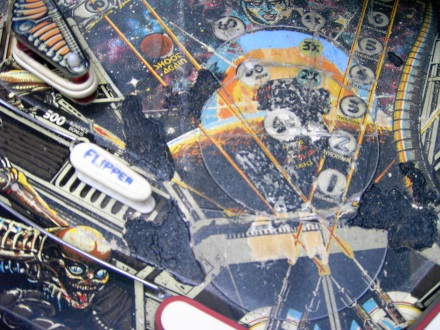
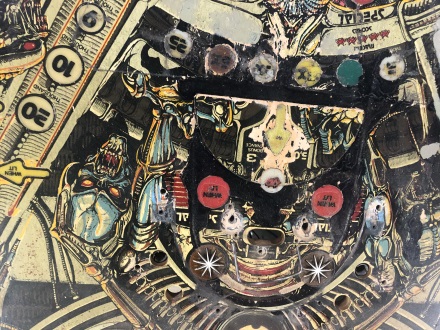
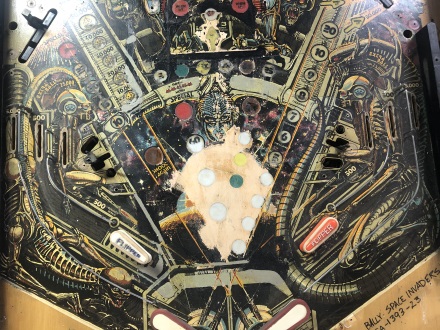
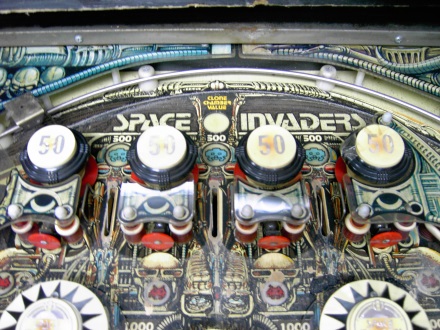
Above are more pics of the playfield before I sanded it. They give some close ups of the black the previous owner had filled in.