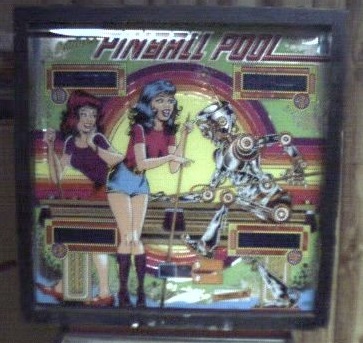
Machine Statistics
Production Date: June 1979
Production Run: 7,200 units
Design: Ed Krynski
Artwork: Gordon Morison
The Game Synopsis/History
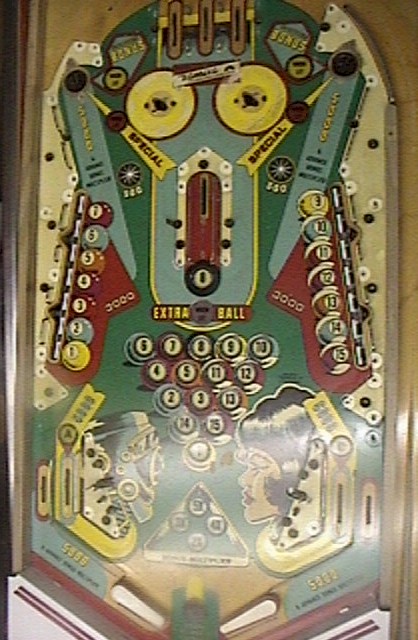
Pinball Pool was the ninth of the System 1 first generation electronic machines from Gottlieb. The game features two 7-drop target banks one on each side of the playfield with each target representing a pool ball (balls one through seven and nine through fourteen). The eight ball is gotten by hitting a captive ball in the center of the playfield. The drop targets have what is called a remotrip feature. This feature made it so that in a 3-ball game when you knock down a target on one bank, the corresponding target on the opposite bank is also knocked down. In a 5 ball game, only the even targets drop their corresponding target. The game has the familiar three tones used in most of the System 1 games. Like most System 1 games, there wasn't anything that you could do in this game that you couldn't do on an electomechanical game, except for maybe the ability to have up to five times bonus. For me, this is a fun game and typical of Gottlieb games with an emphasis on the drop-targets.
Electronics
Problem #1: The game would not power up. The game needed a new line cord. I installed a new heavy duty three pronged power cord. After this, the game booted and played. It was the only Gottlieb game that I bought in my original lot that worked without doing some other repairs.
Problem #2: The game would not retain game settings. The battery was bad on the CPU. I removed the battery and installed a remote battery holder that uses 3 AA batteries.
Cabinet
This was the first Gottlieb that I did a full cabinet repaint on. After having done several Bally, Williams, and one Gameplan repaints, the Gottlieb was actually a bit more time consuming. On the positive side, the stencil was not very detailed. On the negative side, the heads on a Gottlieb have two sections that have to be taken apart, which is a lot more time consuming. Secondly, Gottlieb used a splatter pattern on the cabinet that took me a while to learn to duplicate.
All in all this cabinet was not in that bad of shape. The problem was that the front had been broken into at some point and then repaired with a piece of plywood. Then whoever repaired the cabinet hand painted the design on the front and it looked pretty amateurish. So, I decided a repaint was in order.
First, I made stencils of the designs on the sides. I used the same technique as described on Flash Gordon, Silverball Mania, and Mata Hari. The Flash Gordon section has a detailed description of how to make the stencils. Pictures of the stencils for this game can be found here. Making the stencil for the front was a little more difficult. As I said, previously someone had hand painted the right front. I went to the Pinball Database to get pictures of what the design should have looked like. Fortunately, it was similar to the left front. I was able to flop the design from the left side for part of the right side and then use a circle template for the rest of the design.
After making the stencils, I laid them on the cabinet to make sure that they lined up correctly. Once I was satisfied with the stencils, I stripped the old paint off of the cabinet. I used Citrus Strip. IMHO, this is the best stripper on the market. It works better than a lot of other strippers, and it is safe to use indoors.
After stripping the cabinet, I had to fix all of the imperfections, dents, and dings. I used both wood filler and Bondo for this process. The wood filler works great for the smaller imperfections and is easy to work with. Bondo is great for bigger dings. I then sanded the cabinet with 150, 300, 400 grit sandpaper wiping it with mineral spirits in between sandings to remove the particles. The worst part of this cabinet was the neck and the rear. The rear looked like a cat had used it for a claw-sharpener.


