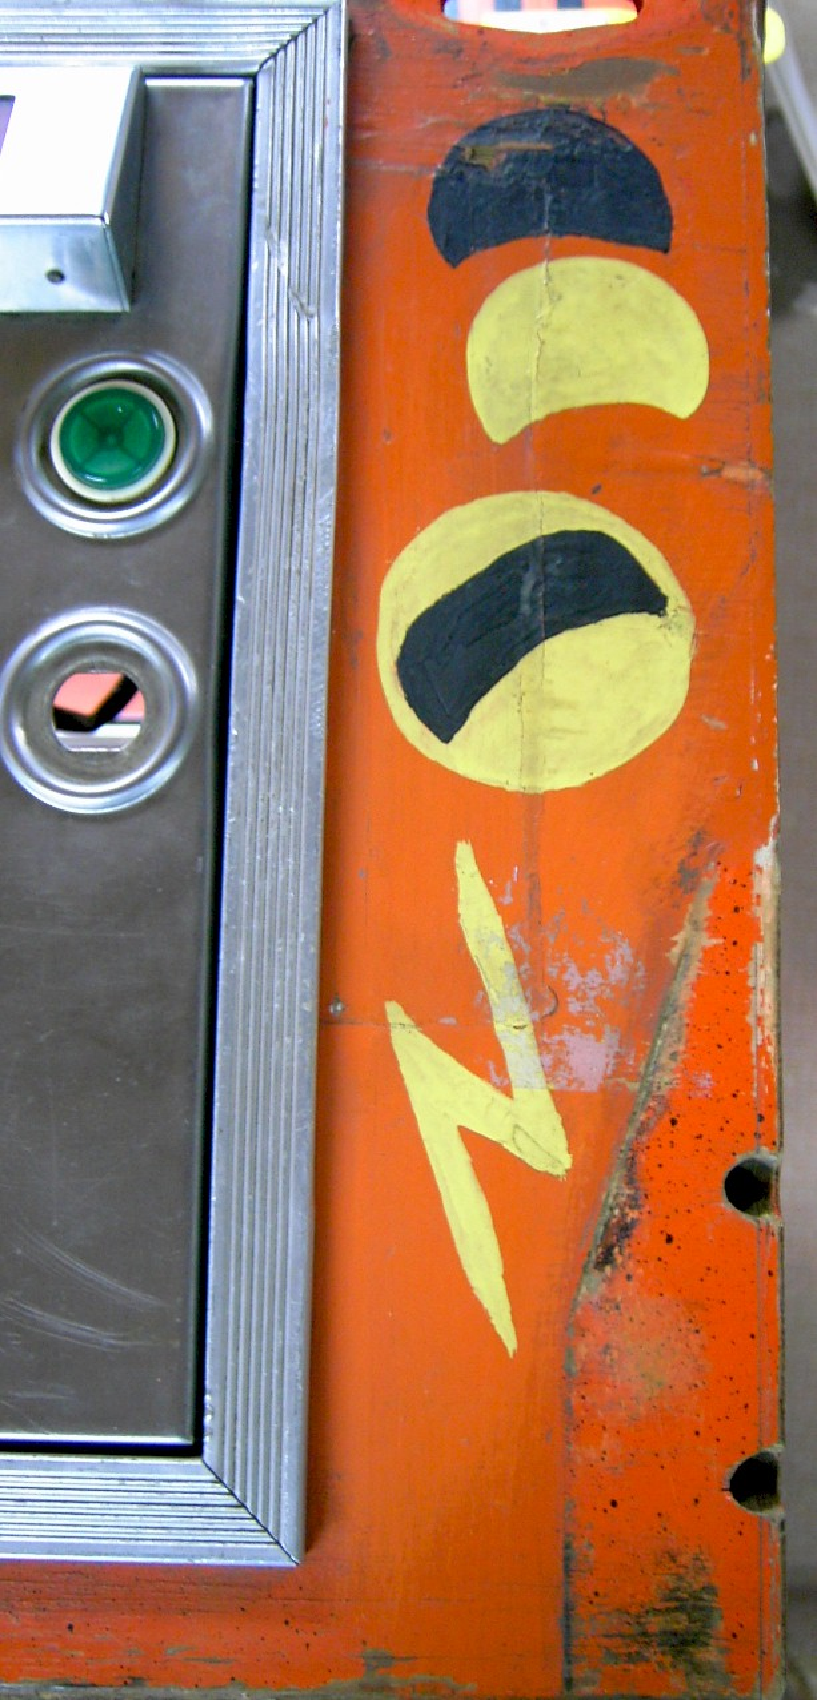

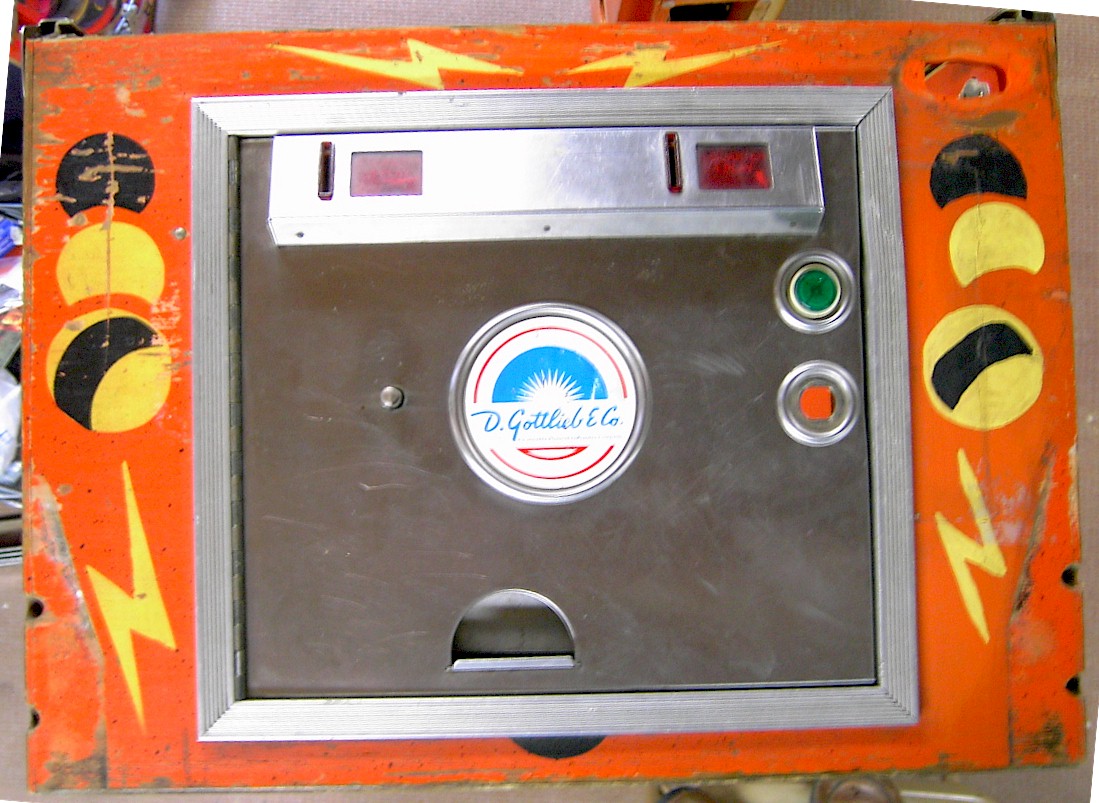
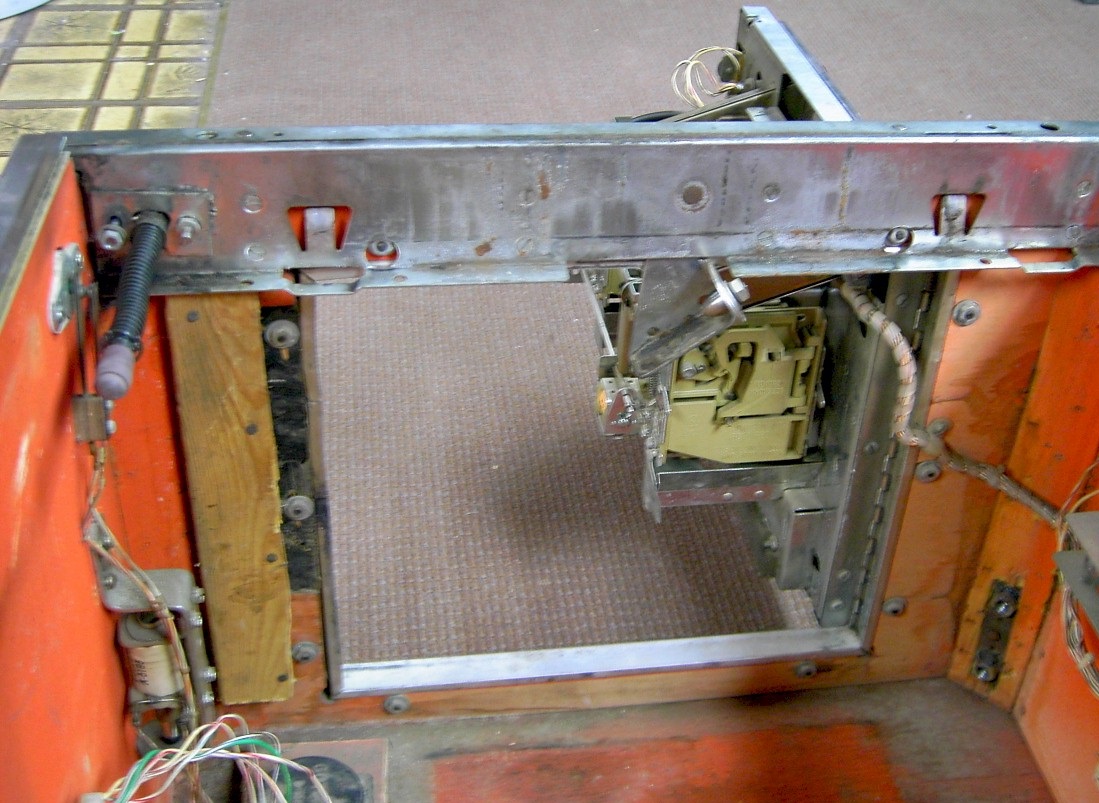
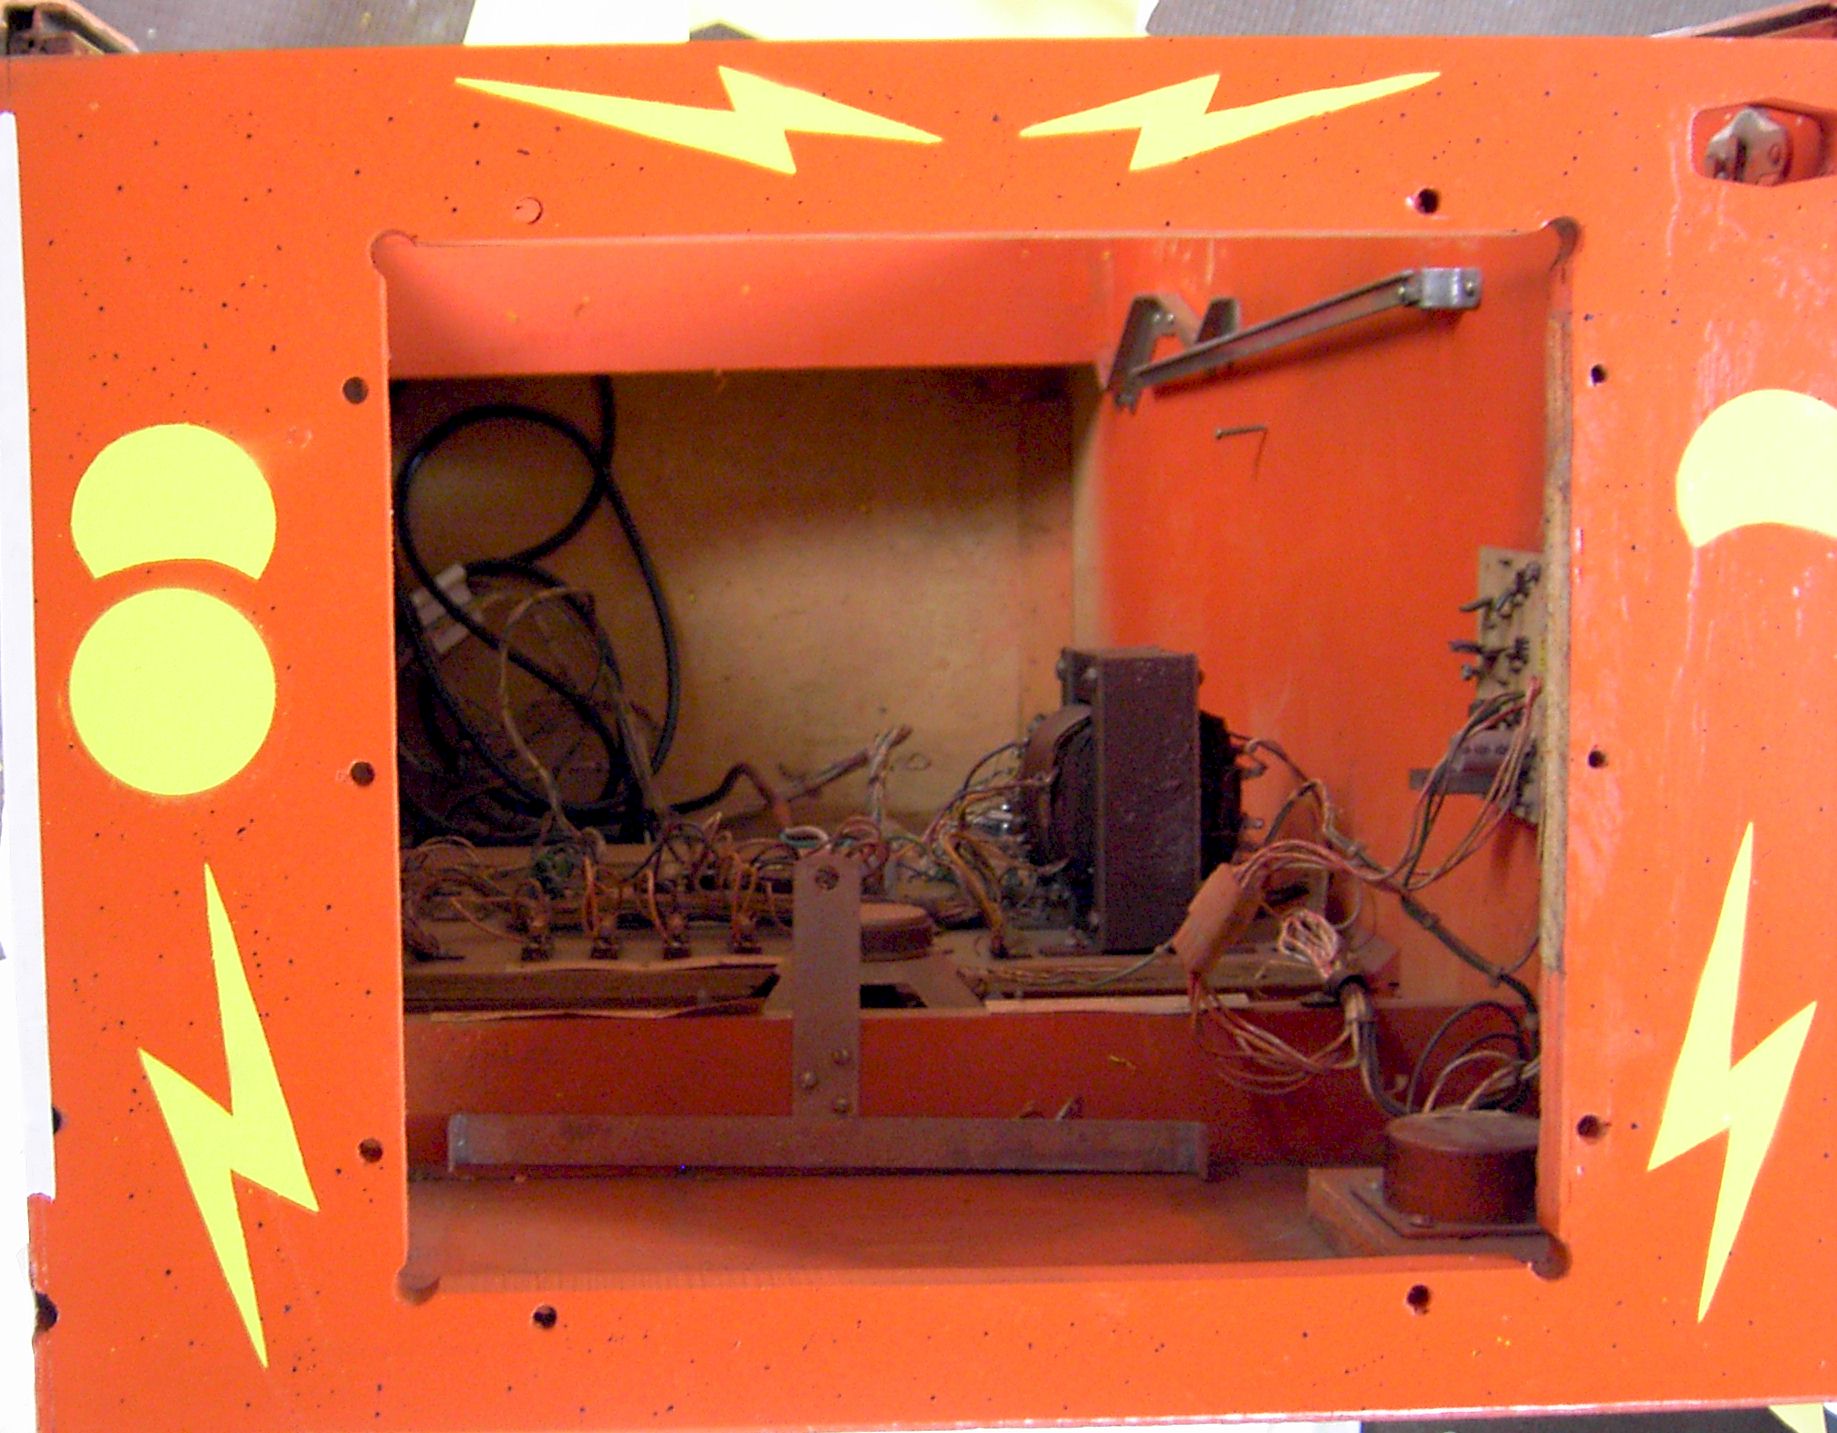
The six pics below show the progression of the front of the cabinet which is where most of the major damage was. The first two pics show the cabinet "before" condition from the inside and the outside. The cabinet was damaged (someone probably broke into it) and was repaired. The picture of the inside shows the piece of wood that was added as re-enforcement. The outside pic shows where someone hand-painted the design after the cabinet was repaired.
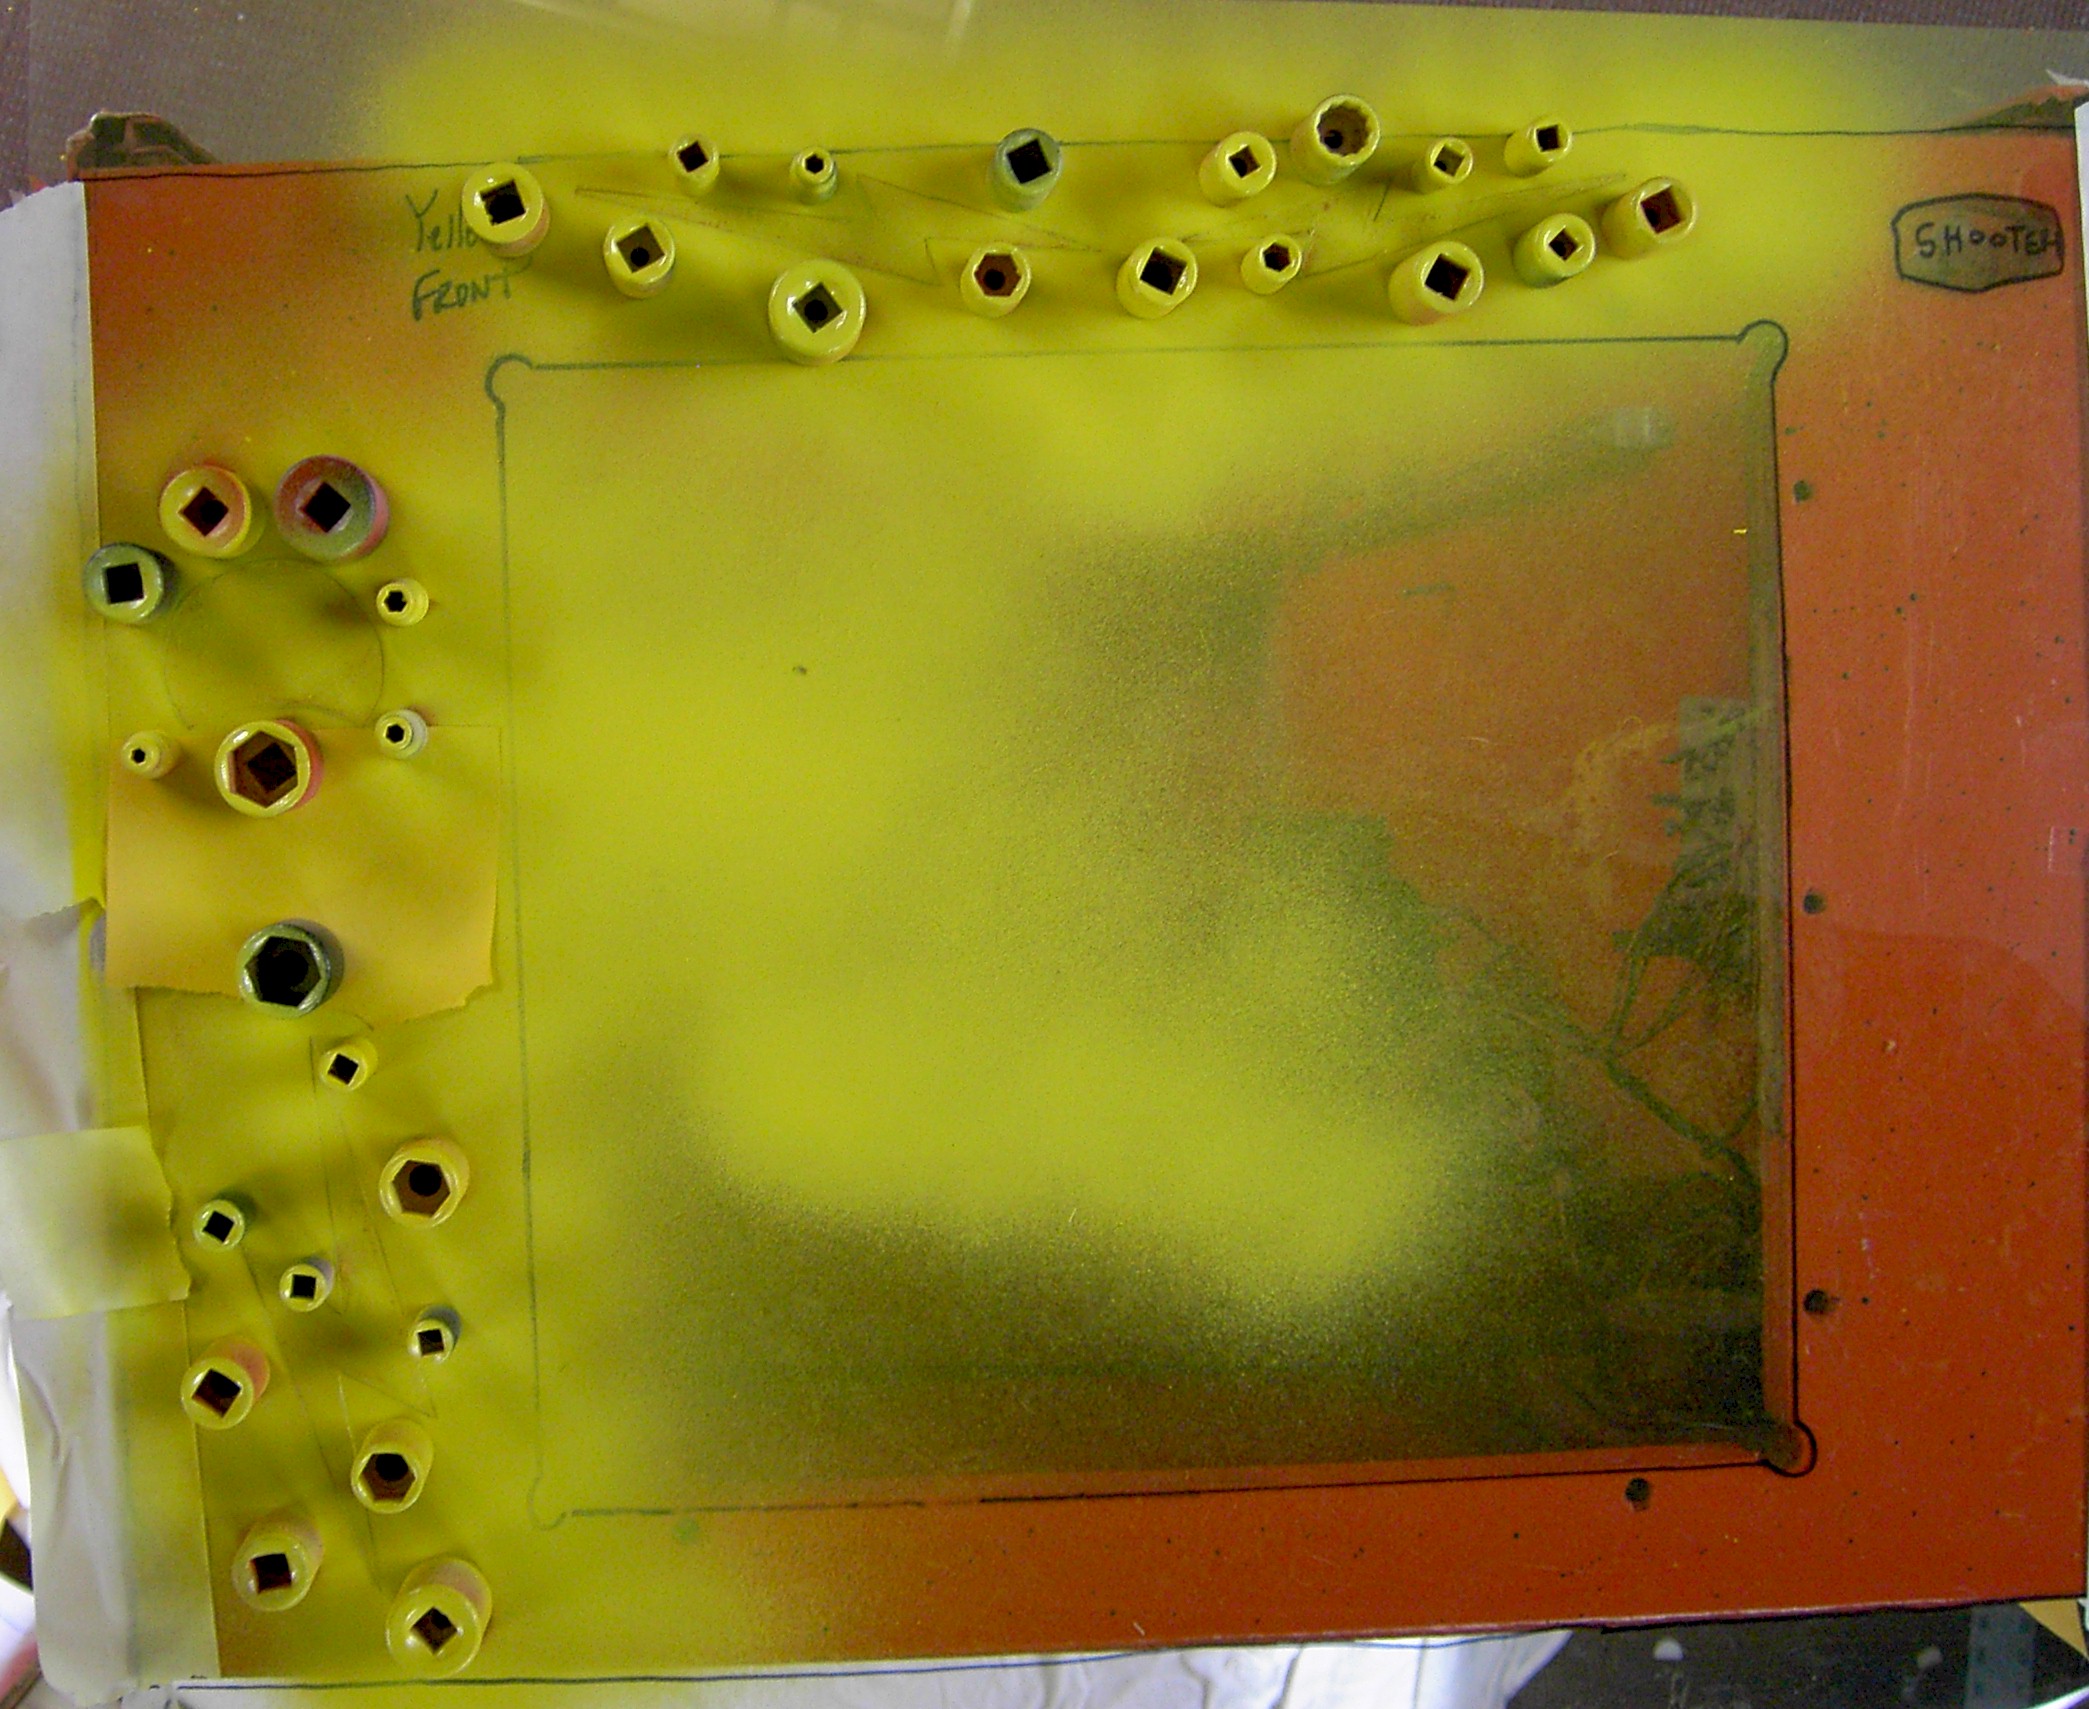
The next two pics show the base orange and then the yellow stencil. Note that the yellow stencil is only on the left side due to the fact that I really wasn't sure what the right side was supposed to look like. Ultimately, by looking at pictures online, I was able to determine what I needed for the right side. By and large, I was able to use the stencil I had but just had to flip the lightning bolt pattern. Again, I used old sockets as weights to help hold down the stencils.
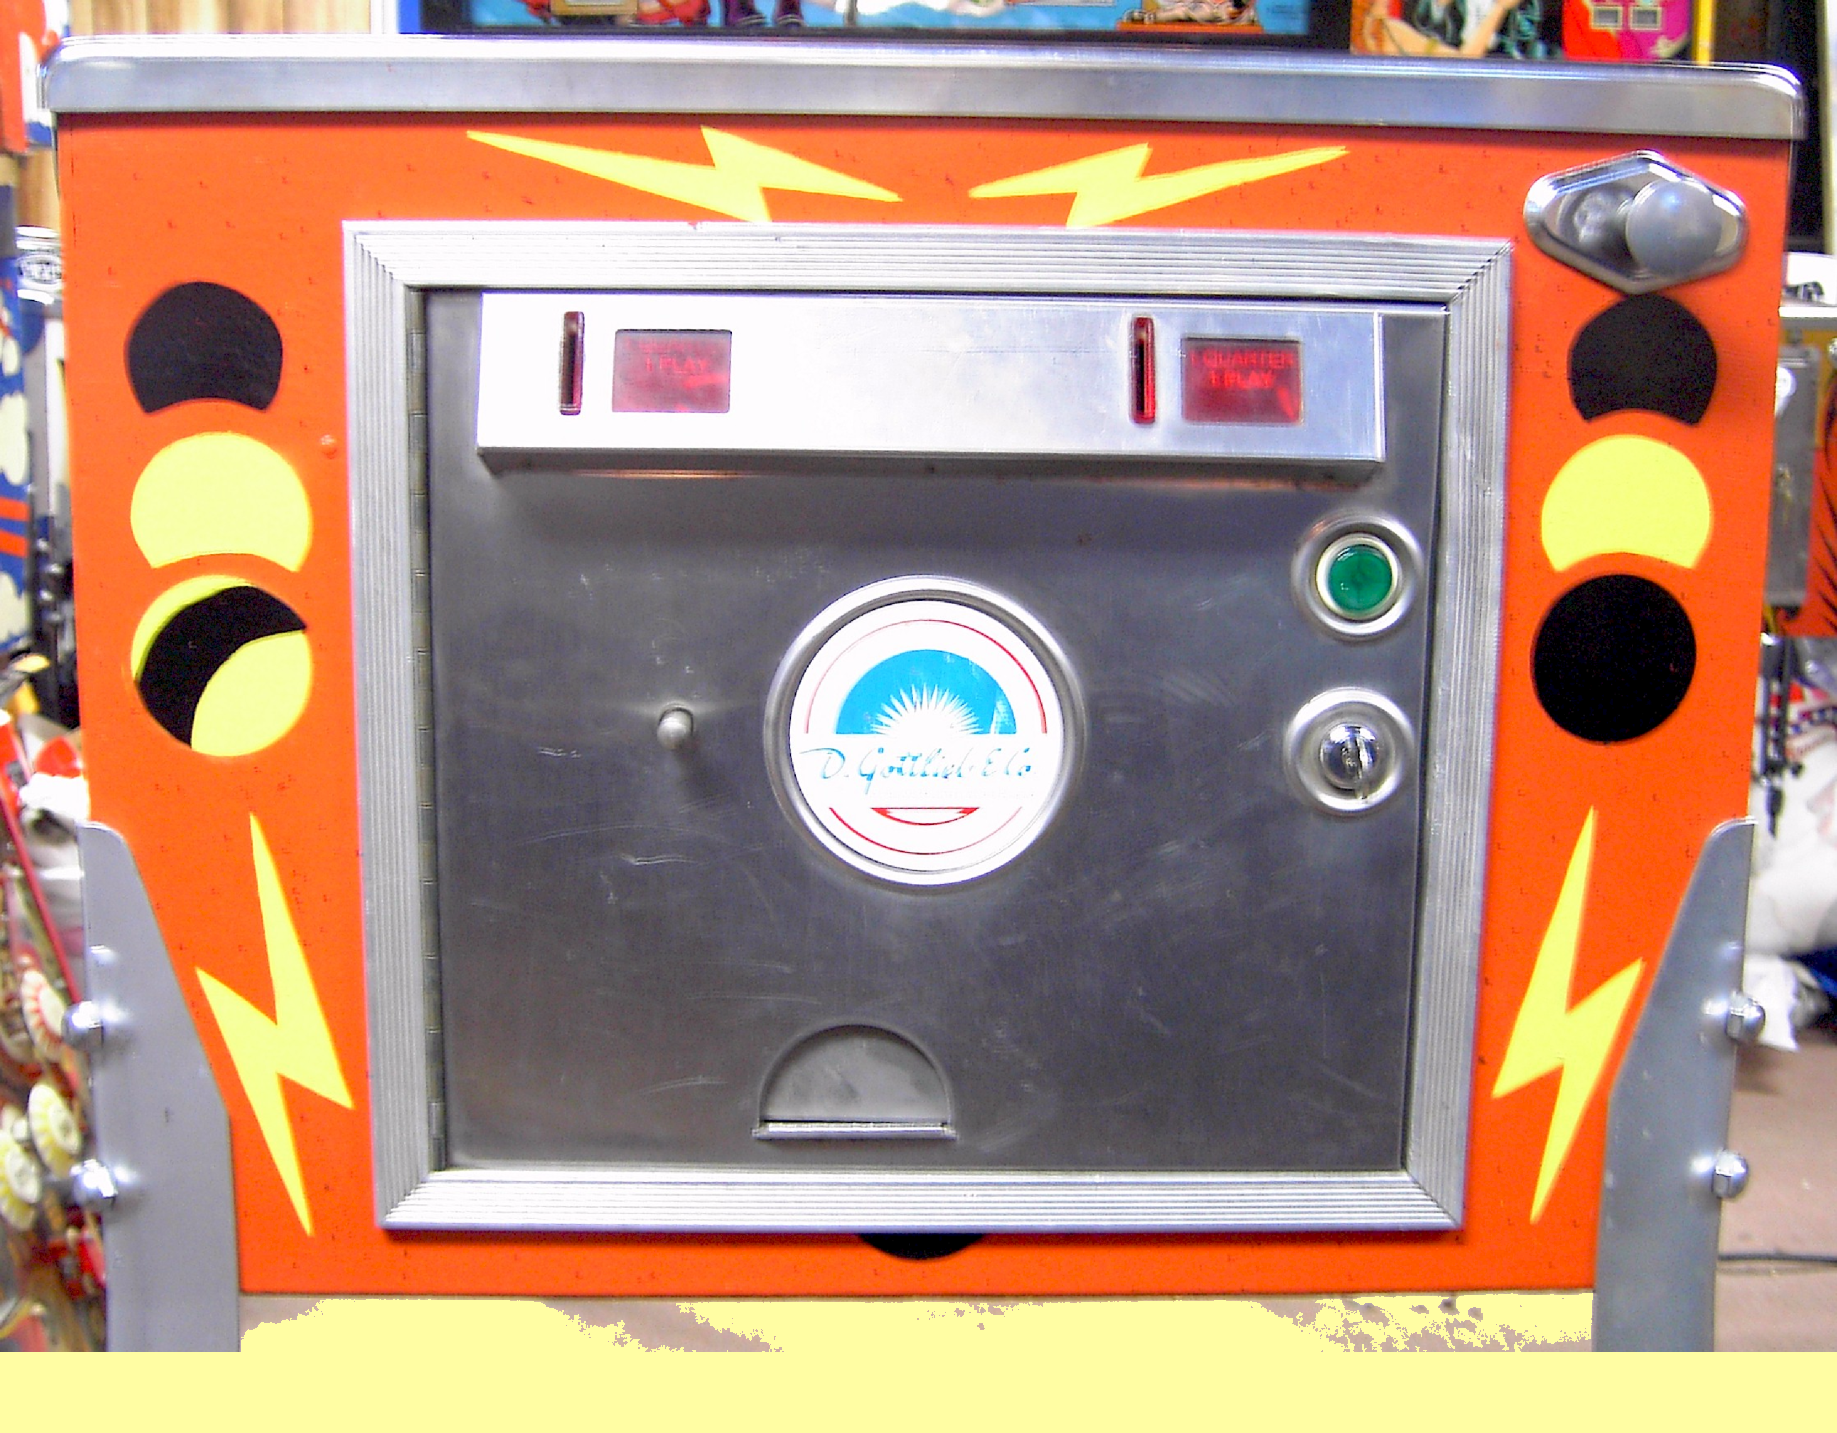
The last two pictures show the front after the yellow was applied and then the final result. It turned out pretty good. I polished the front door and added a new Gottlieb sticker.
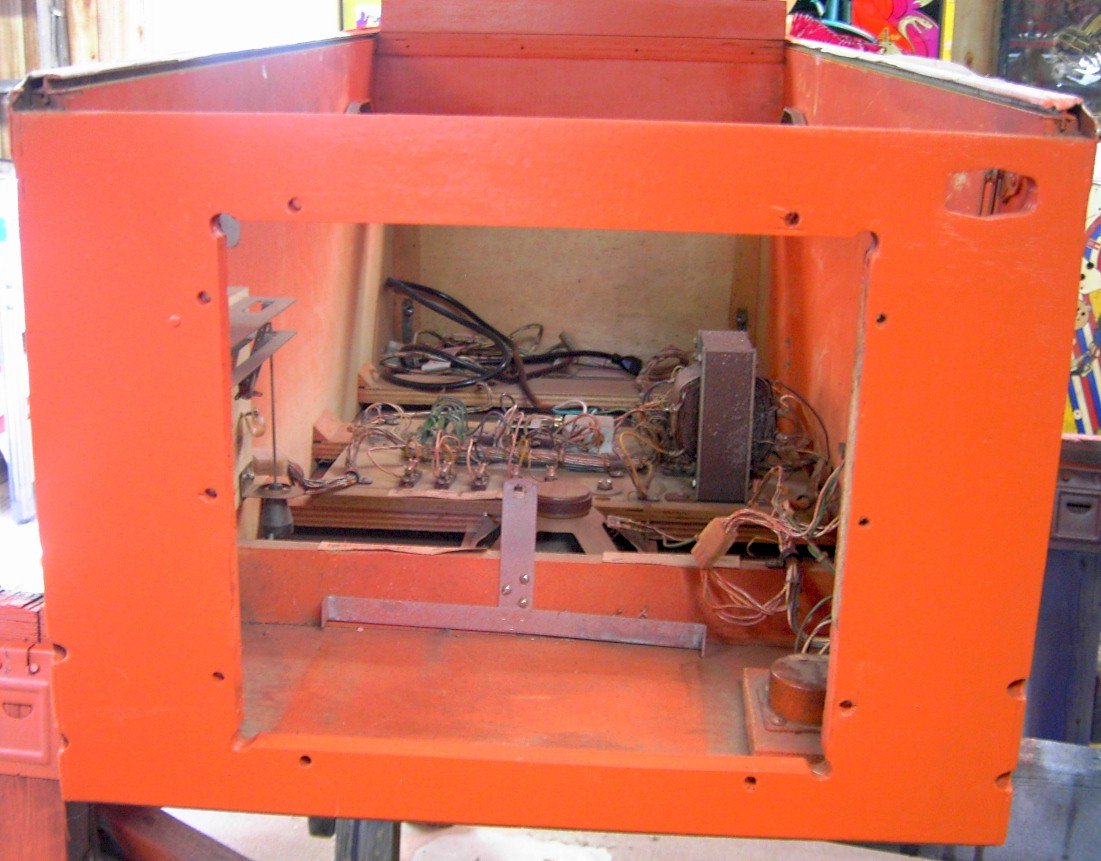
Below is the read of the cabinet before being sanded, filled, and painted. It looks like it had been through quite a bit over the years. The next page will show how this looked after the restoration.
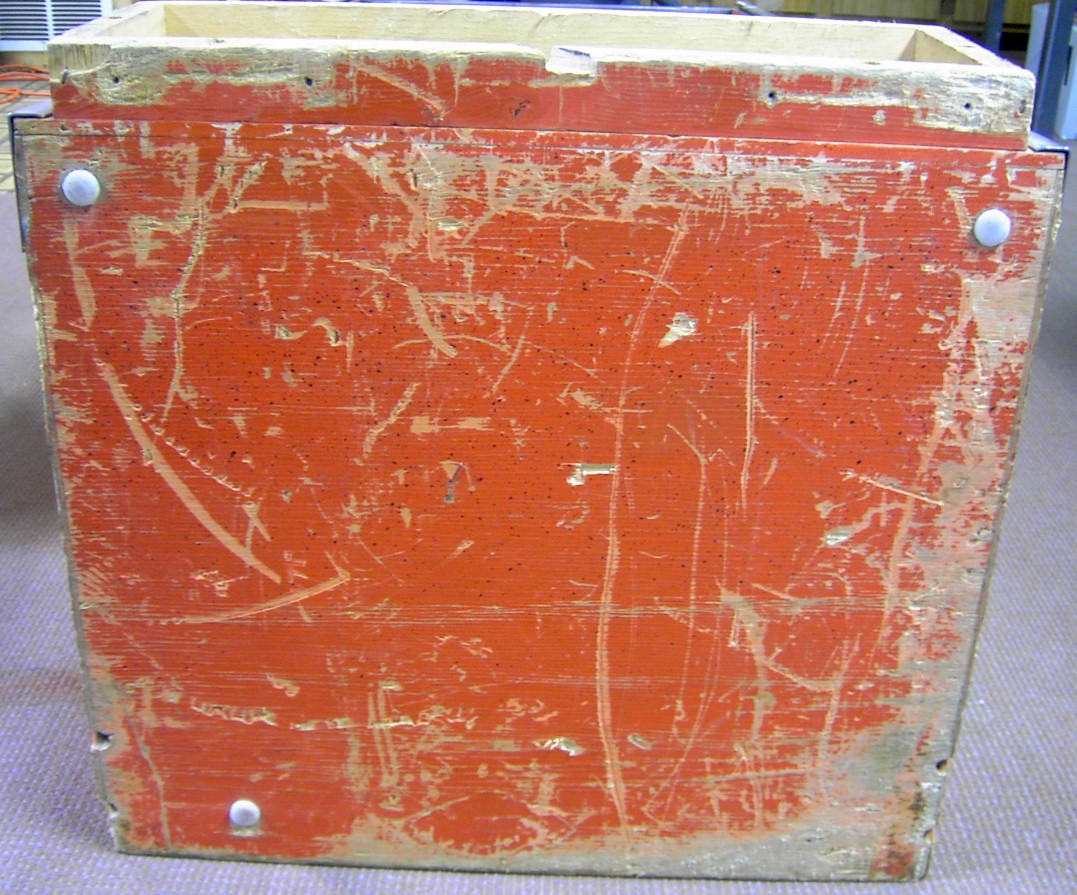
Below is a close-up of the hand-paint job someone did on the cabinet. This is one of the reasons I felt I had to do a repaint.
