Cabinet Continued
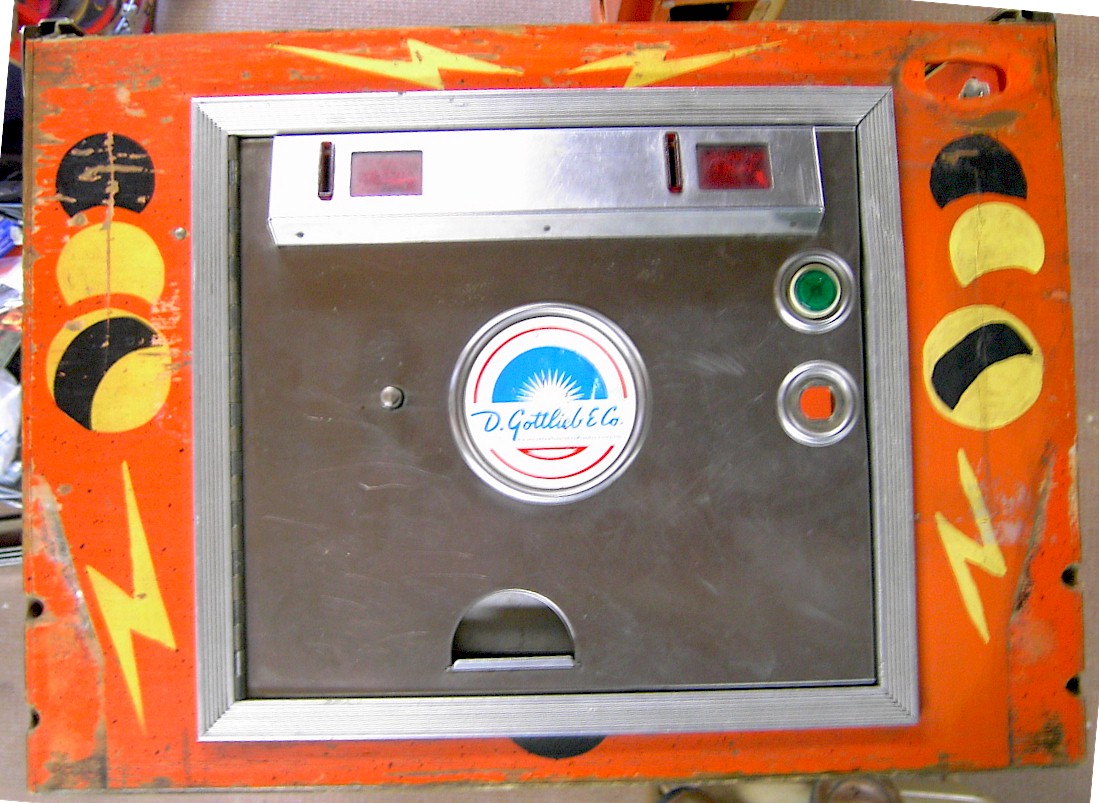
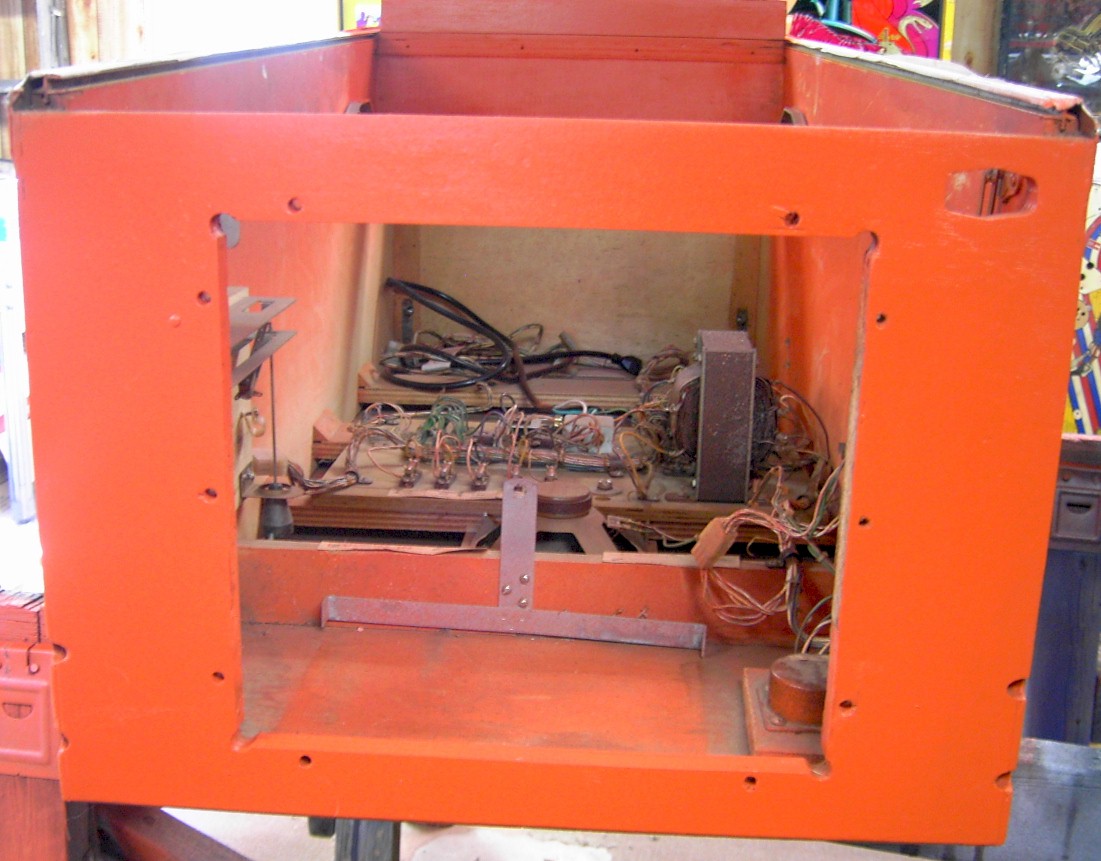
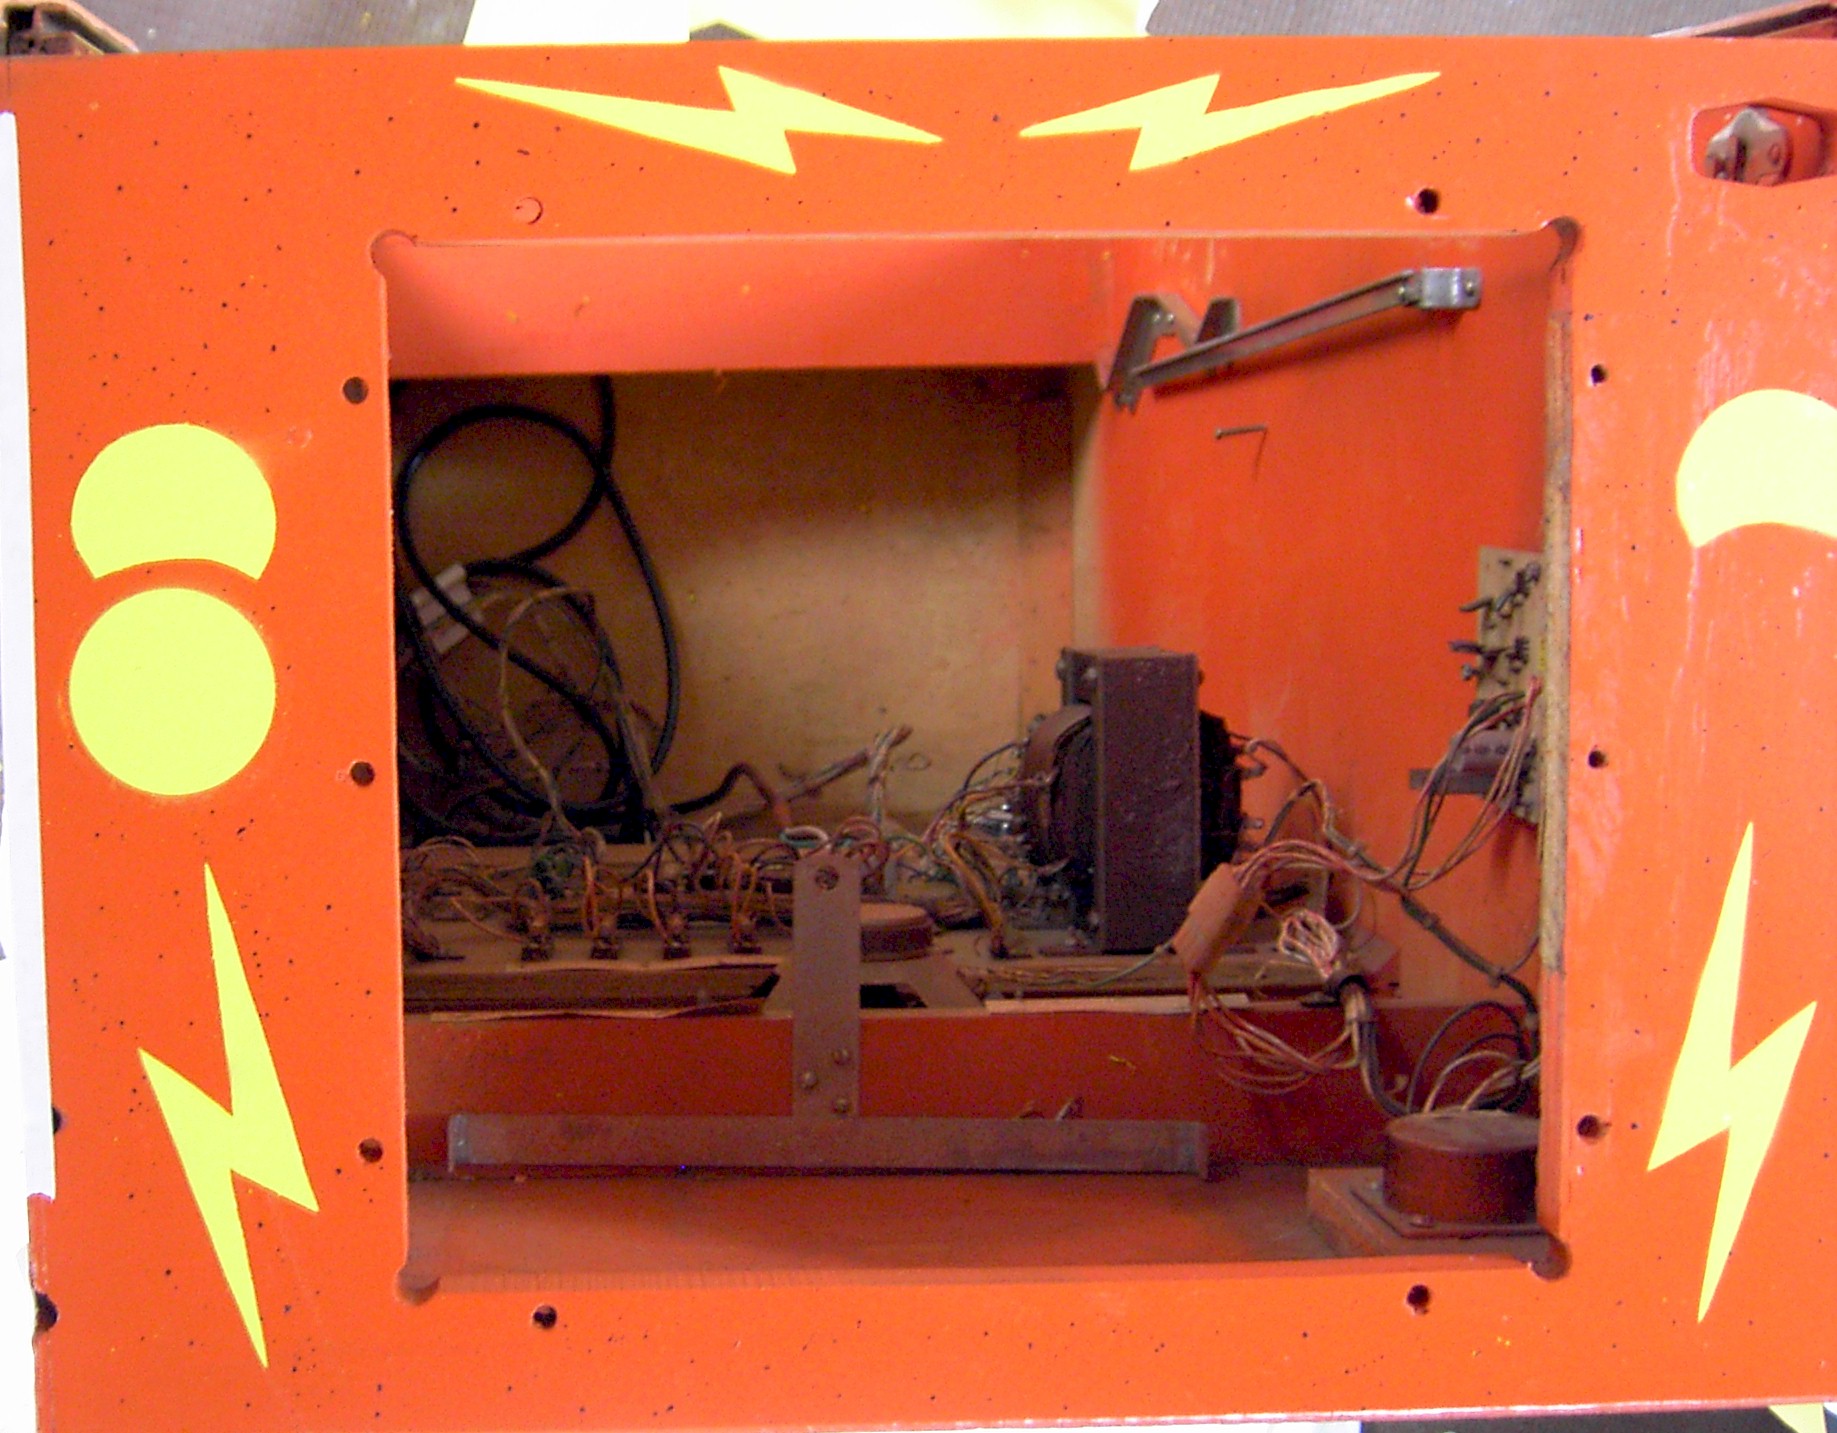
Next came the actual painting. I taped off the metal rails and other areas where I didn’t want to get over spray. The base color was an unusual orange. I usually use Krylon brand spray cans. For this cabinet, I used Krylon for the black and yellow stencils, but I couldn’t find a match for the orange base coat. So, I took a chip of paint to Lowe’s and had a color match made and bought two quarts of enamel paint. I probably could have gotten by with one quart, but I wasn’t sure how much it would take.
I used a paint sprayer to spray the cabinet. The spraying time was a lot faster than using spray cans. But with the clean up time to clean the sprayer, overall it wasn’t that much faster than using spray cans.
I had one problem at this point. I painted the cabinet outdoors and a couple of gnat-like bugs got stuck in the paint. I was going to leave them and then light sand them off when the paint dried. However, one of my kids, unknown to me, tried to wipe a bug off with her finger while the paint was still wet. So, there is “smear” in the paint on one side of the cabinet. Instead of being smooth, there is an “channel” four inches long and the width of my girl’s finger. It isn’t that noticeable unless you are up close, but it is still a flaw.
After applying the base coat, I then had to put on the splatter pattern that Gottlieb used on their System 1 games. On their wedgeheads, Gottlieb used a webbing pattern. This pattern was put on after the base coat but before the other colors were applied. The System 1 games, instead of using a webbing pattern, used a splatter or speckled pattern. It took me a while to learn to duplicate this pattern. In fact, making a webbing pattern was a whole lot easier. Here’s how I make both patterns.
I began by experimenting on cardboard. I used the small kids craft paint brushes that have thin plastic shafts and very small brush heads. The plastic shafts allow you to bend the brush. I dip the brush in paint and then flick the brush at the cardboard. I found that this made a great webbing pattern. By varying how hard you flick and the direction/angle of the flick, you can make a nice random webbing design. However, for this game I needed a speckled pattern and no matter how easy I flicked, it would always create a webbing effect, not a speckled effect.
Finally, to get the speckled effect, instead of flicking the paint brush, I lightly plucked it with my finger. As long as I didn’t pluck too hard, it would cause the paint to come off in in small drops without “streaks” that create the webbing effect. If, however, I plucked too hard, it would create a bit of a webbing or “streak” effect. So, to make the speckled effect, I had to dip my brush in paint and then carefully and lightly pluck the brush toward the cabinet. It took some experimenting, but I was able to reproduce the splatter.
After adding the speckled effect, I painted the stencils. The main problem I had on this cabinet is that the stencils had a lot of long straight lines that in the end weren’t as clean cut as I would like. Also, some of the edges of the black and yellow did pull up a little paint. Again, from a distance, it is not that noticeable, but I really like my paint jobs to be a little more precise than this one turned out.
The rear and neck of this cabinet were pretty rough. In fact, the rear looked as if a cat had used it for his scratching pad. This took several light coats of filling and sanding to smooth out.
Finally, after the painting was finished, I sprayed the cabinet with Krylon Crystal clear to protect it.
Backglass
The backglass on this game was almost perfect. There was no peeling, flaking, or problems with the paint. There are a couple of small pencil eraser sized spots in which the paint has come off due to contact with the light board panel. The only real problem was in the blue score windows where the transparent blue was “spidering.” Again, this is a common problem with all Gottlieb System 1 games. In fact, it did this on all four of my System 1 games. To fix this, I scraped off the old blue using a straight chisel style exacto blade and then added theatre gels with a blue tint to the windows. I used the Roscolux 71 gel. There is a Lee equivalent: 172 (Lagoon Blue). The gels come in a sheet abut 30” X 22”. I cut the gels in pieces slightly larger than the score windows. I then secured the filters with Mylar. The final result was excellent. It makes the score displays show up as if they are behind a brand new backglass.


