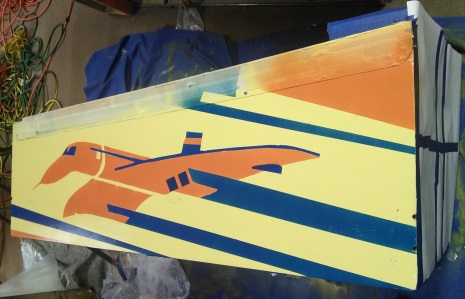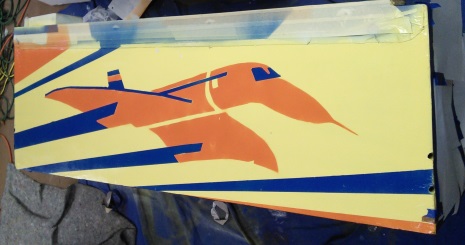

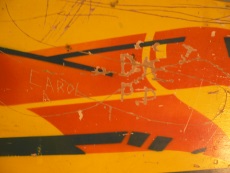
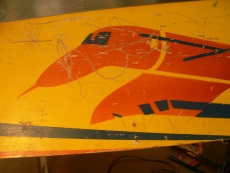
Below you can see that the cabinet had a lot of scratches and dings, especially in the center area.
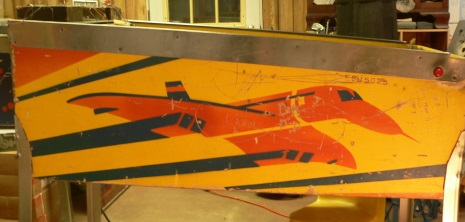
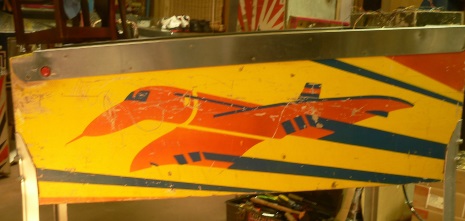
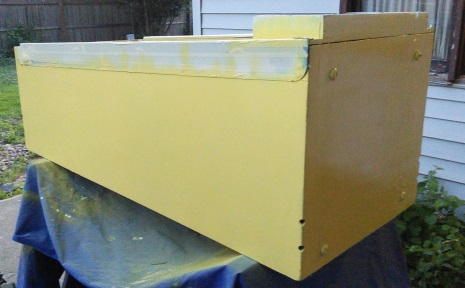
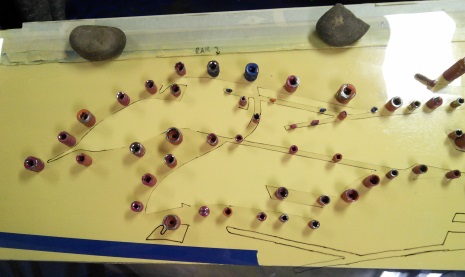
The pics below show the cabinet after the base yellow was applied followed by pictures of the orange stencil. Notice that I use an old socket set as weights to hold the stencil down to prevent under spray.
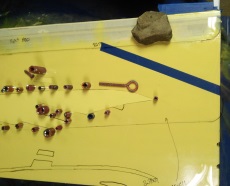
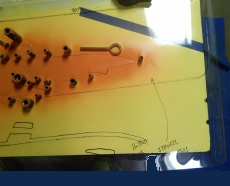
Below you can see some of the progression, starting with orange and then the blue. Note that the long blue lines and the orange angled corners I did by taping off those areas. You have to measure where the lines go before stripping the cabinet. I find that long straight lines are easier to do with tape than with an acetate stencil. It does take more work, however, to tape it off. Also, it's not how the original was done so some people don't want to tape it off. They'd prefer to do it like the original.
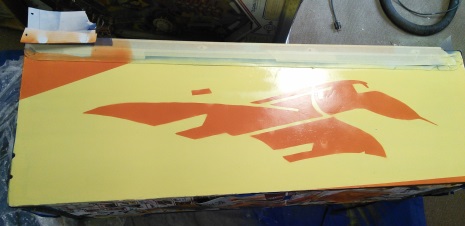
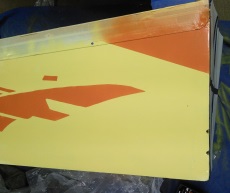
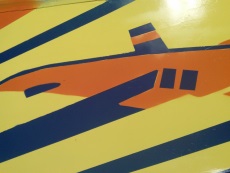
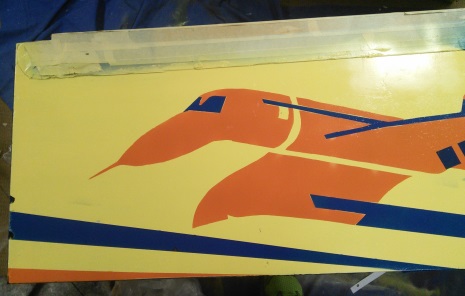
I've rotated the pics below nienty degrees so that you get a normal "side view" of what the cabinet looks like. In those pics the cabinet is actually standing on its end. Note also that everything is still taped off; the front, rear, rails, and neck.
