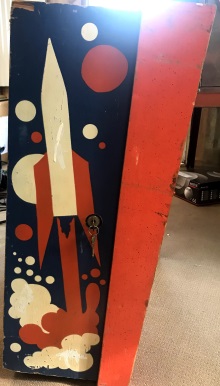
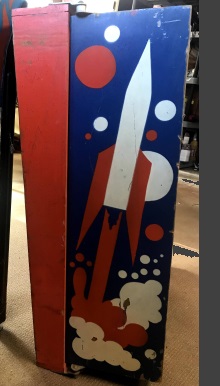
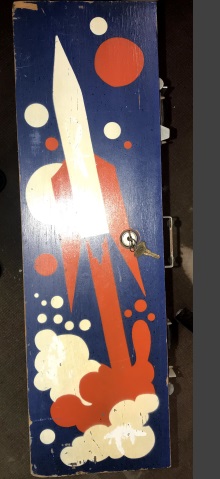
The head wasn't in horrible shape for a game this old. You can see some areas in the white rocket and clouds where someone had tried to touch it up. The frame has a few dings, but not too bad considering the game is over forty years old.
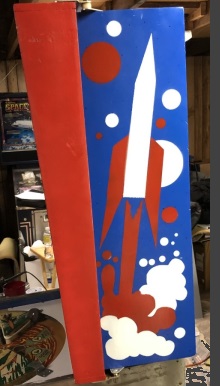
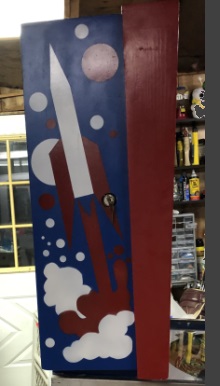
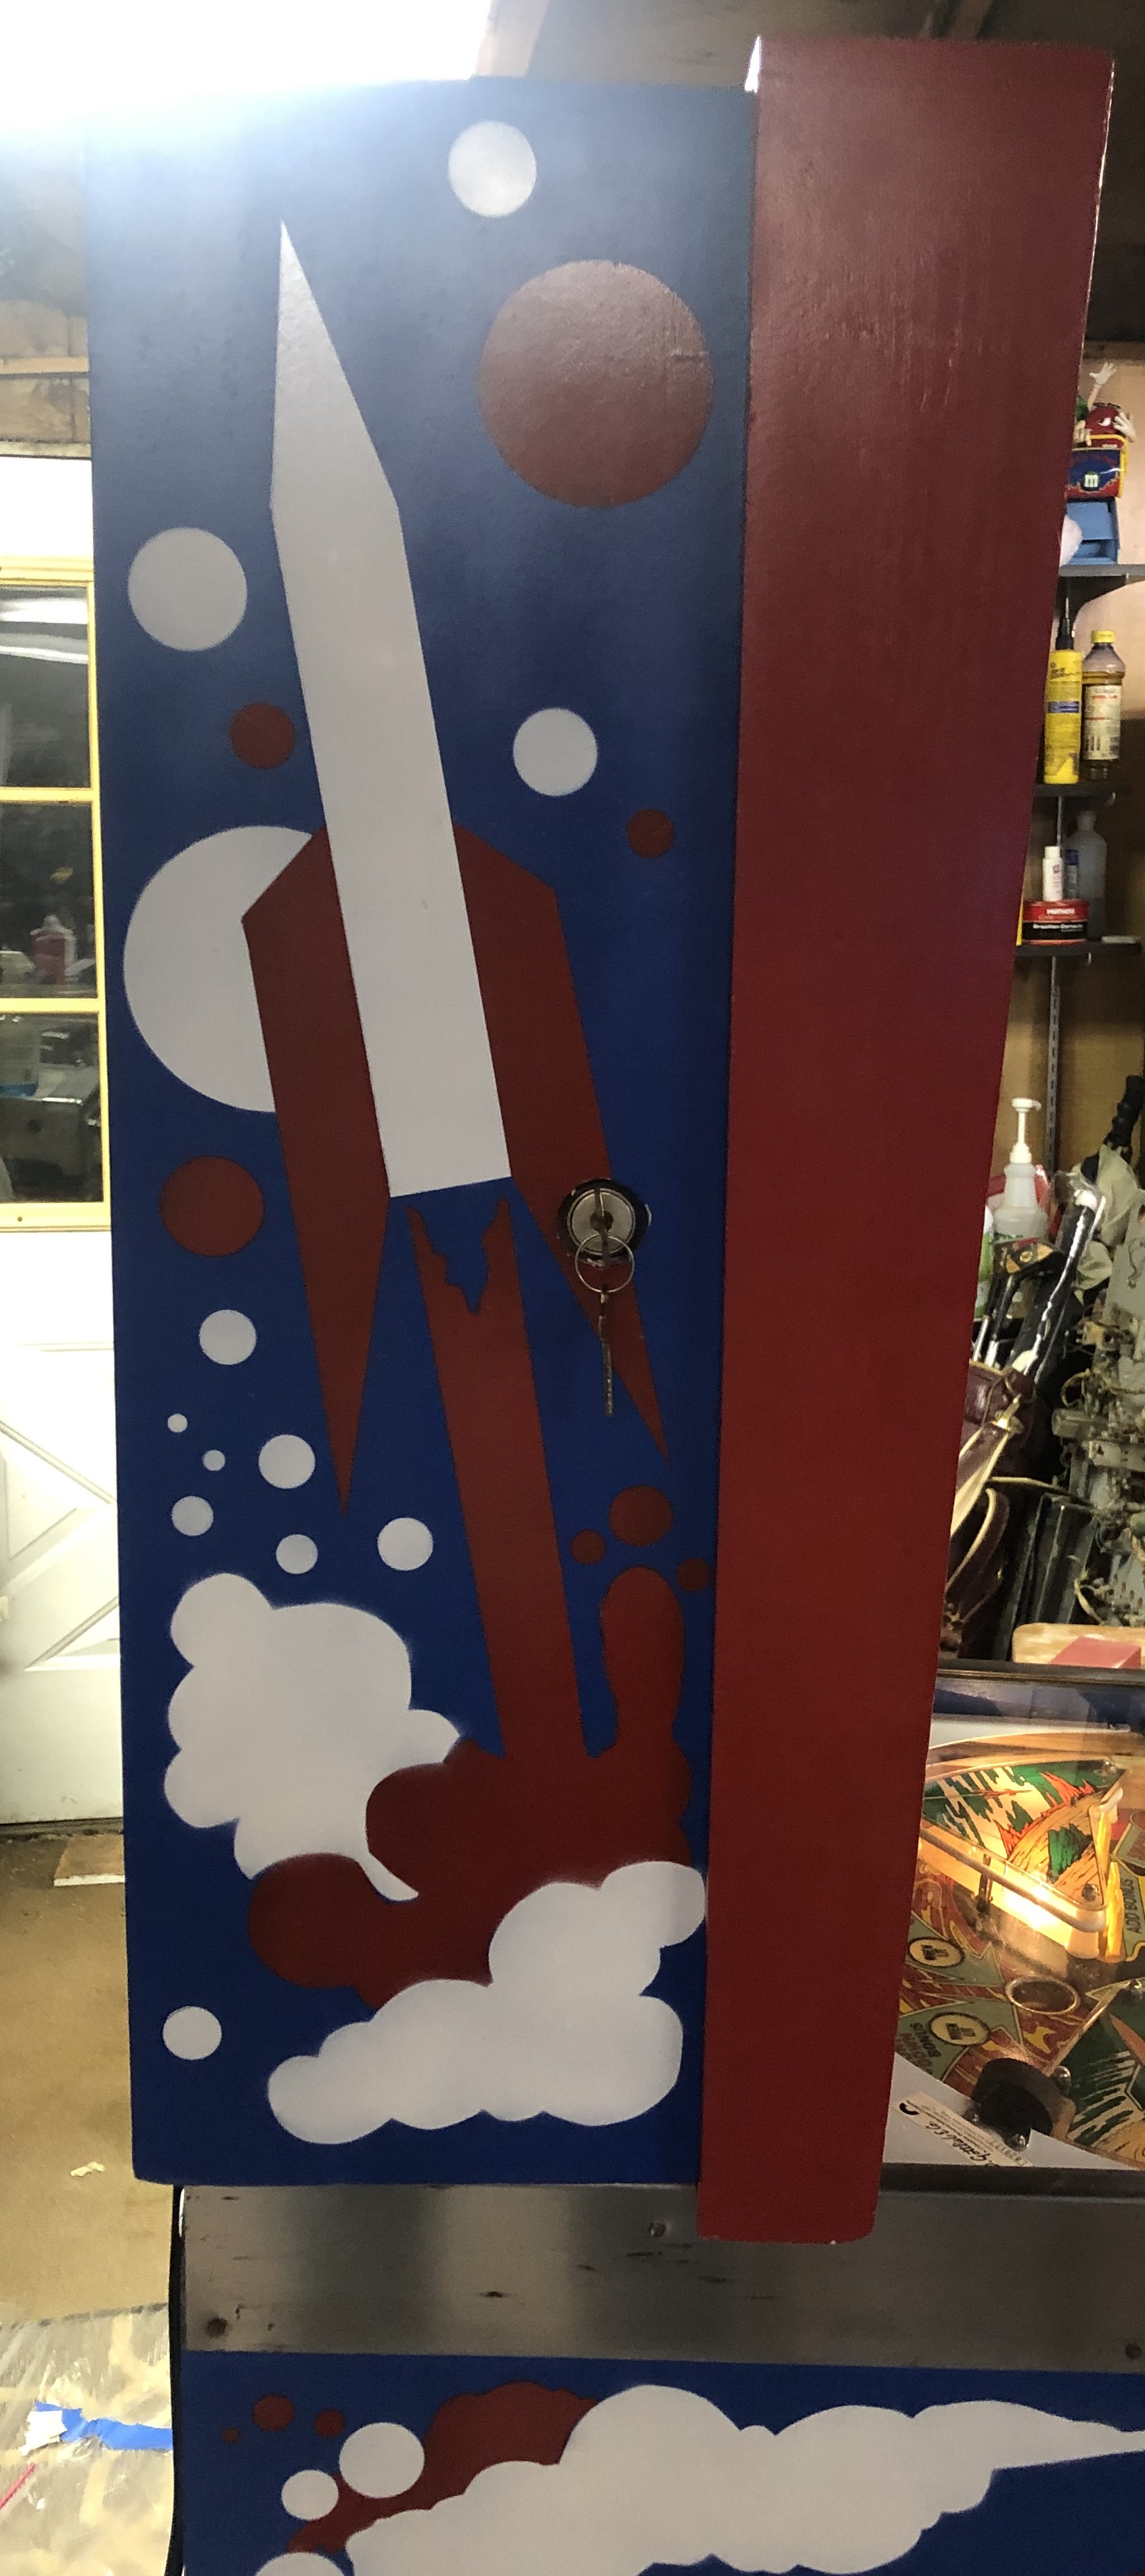
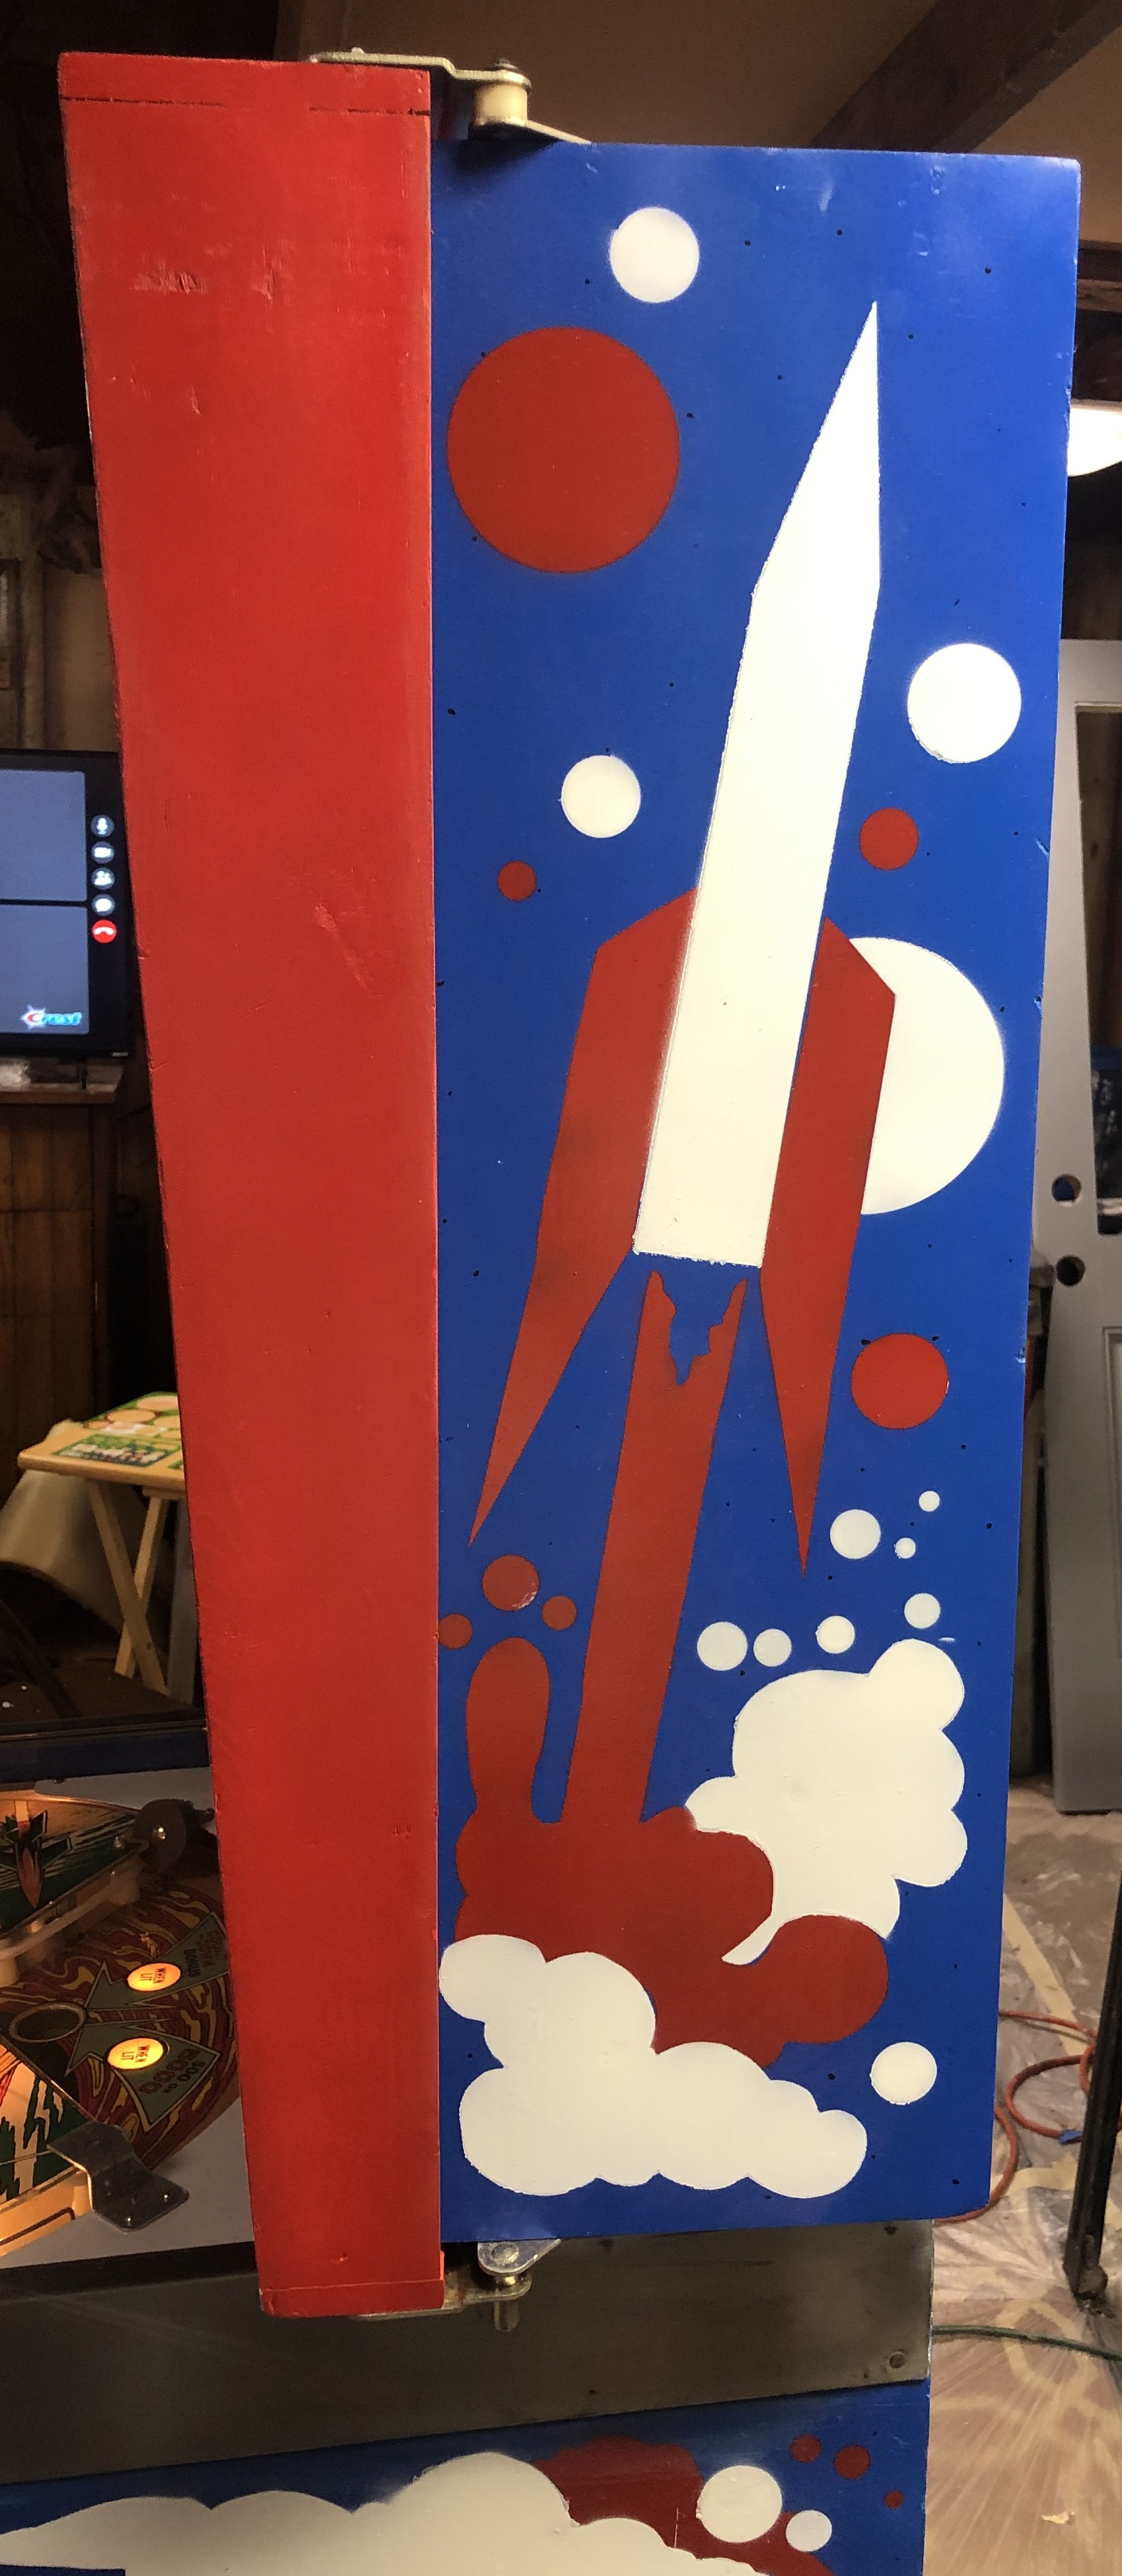
Above and right are pictures of the final product. The only issue (one that most won't notice or know about) is that the original "red" was a bit "orangier" than the red I used.
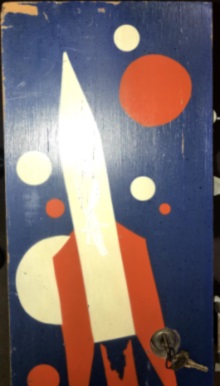
Above is a little closer view. In the top rear corner you can see a "gouge" where not only paint is missing, but the wood itself had broken off. Again, for a forty year old game the head wasn't in that bad of shape.
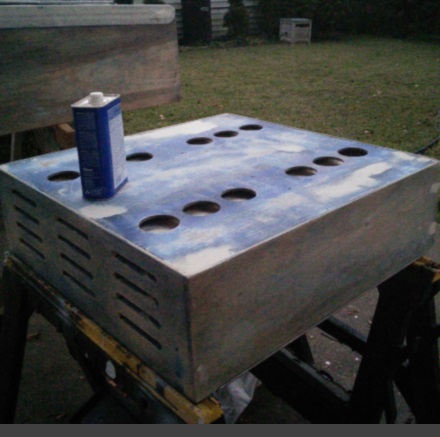
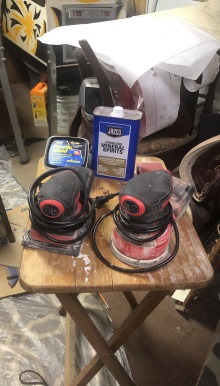
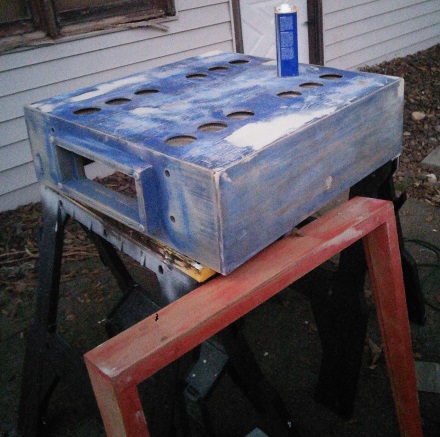
The three pictures at the left and the one above show the head being prepped before I put the base coat of blue paint on the cabinet. I used Citrus Strip to get the old paint off. Even after sanding there was some blue left on. As long as your main color (blue in this case) can adequately cover what doesn't come up with sanding, you don't have to make the effort to get it to the bare wood. This is especially true if you use a white primer coat. Next I fix the dings with wood filler and bondo if necessary. Then I sand with 150, 220, and 400 grit sand paper. Mineral spirits are then used to wipe all the residue off and then everything is ready to paint.
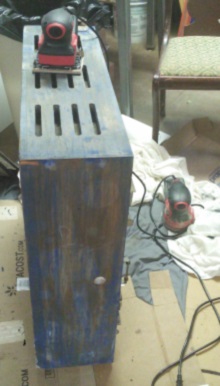
The sides of the head on this cabinet were in really good shape. There were a couple of medium sized gouges and then some scratches. The real problem was the back side of the head. It was covered in scratches. The page on the rear of the cabinet has better pictures of how bad the rear was. I removed the metal vents (I polished them while they were off) and then spent a lot of time adding filler and sanding. In the pictures you can see large areas where I just covered with filler and then spread it out with a putty knife. On a side note, the person getting this game was glad that I spent time doing the rear because part of it was going to be visible where they planned to place the machine.