
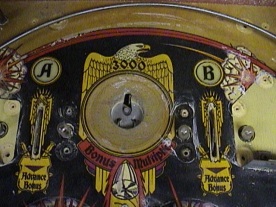
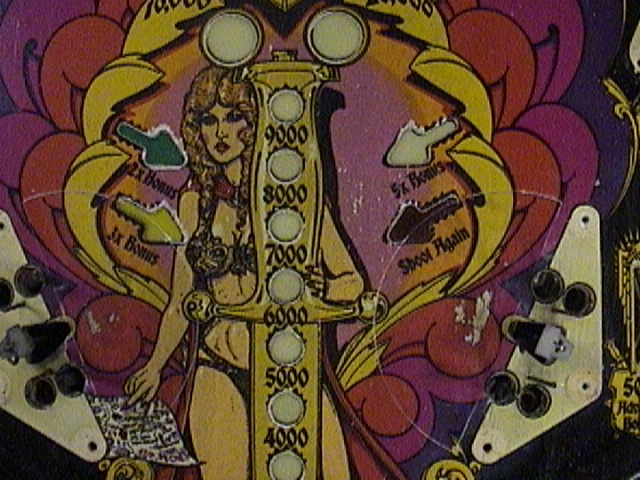
In the three pictures below you can see some of the wear on this playfield. There is a lot of pitting in the black, dark purple, and light purple areas. For the black, I just take a sponge with black paint and wipe across the area. This fills the "pits" and spots with black paint and helps blend it with the other areas. In fact, I try to do that with all areas where the touch up is not a large bare wooden spot. I haven't yet removed the hardware from the top side of the playfield. That will be my next job. Note also the mylar rings around the bumpers. These will need to be removed before the clearcoat.

Above, there are also Mylar half-circles in front of the slings. Note that they were applied after the wear had occurred. These too will need to be removed and then the spots touched up. See the next page for pics of the playfield after the touch ups and clear coating.
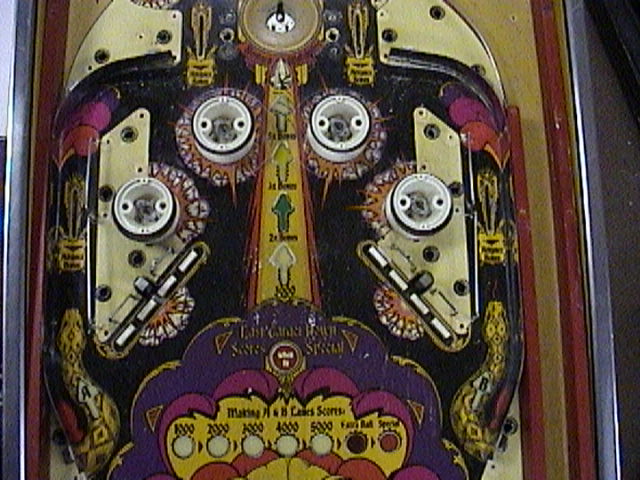
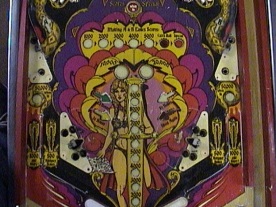
Above, is the playfield as I begin to remove some of the top-side hardware. I'll need to remove the flippers, bumpers, ball guides, and anything else attached to the playfield. Parts that are in openings but reside below the surface will be taped off for clear-coating. The next page will show that.
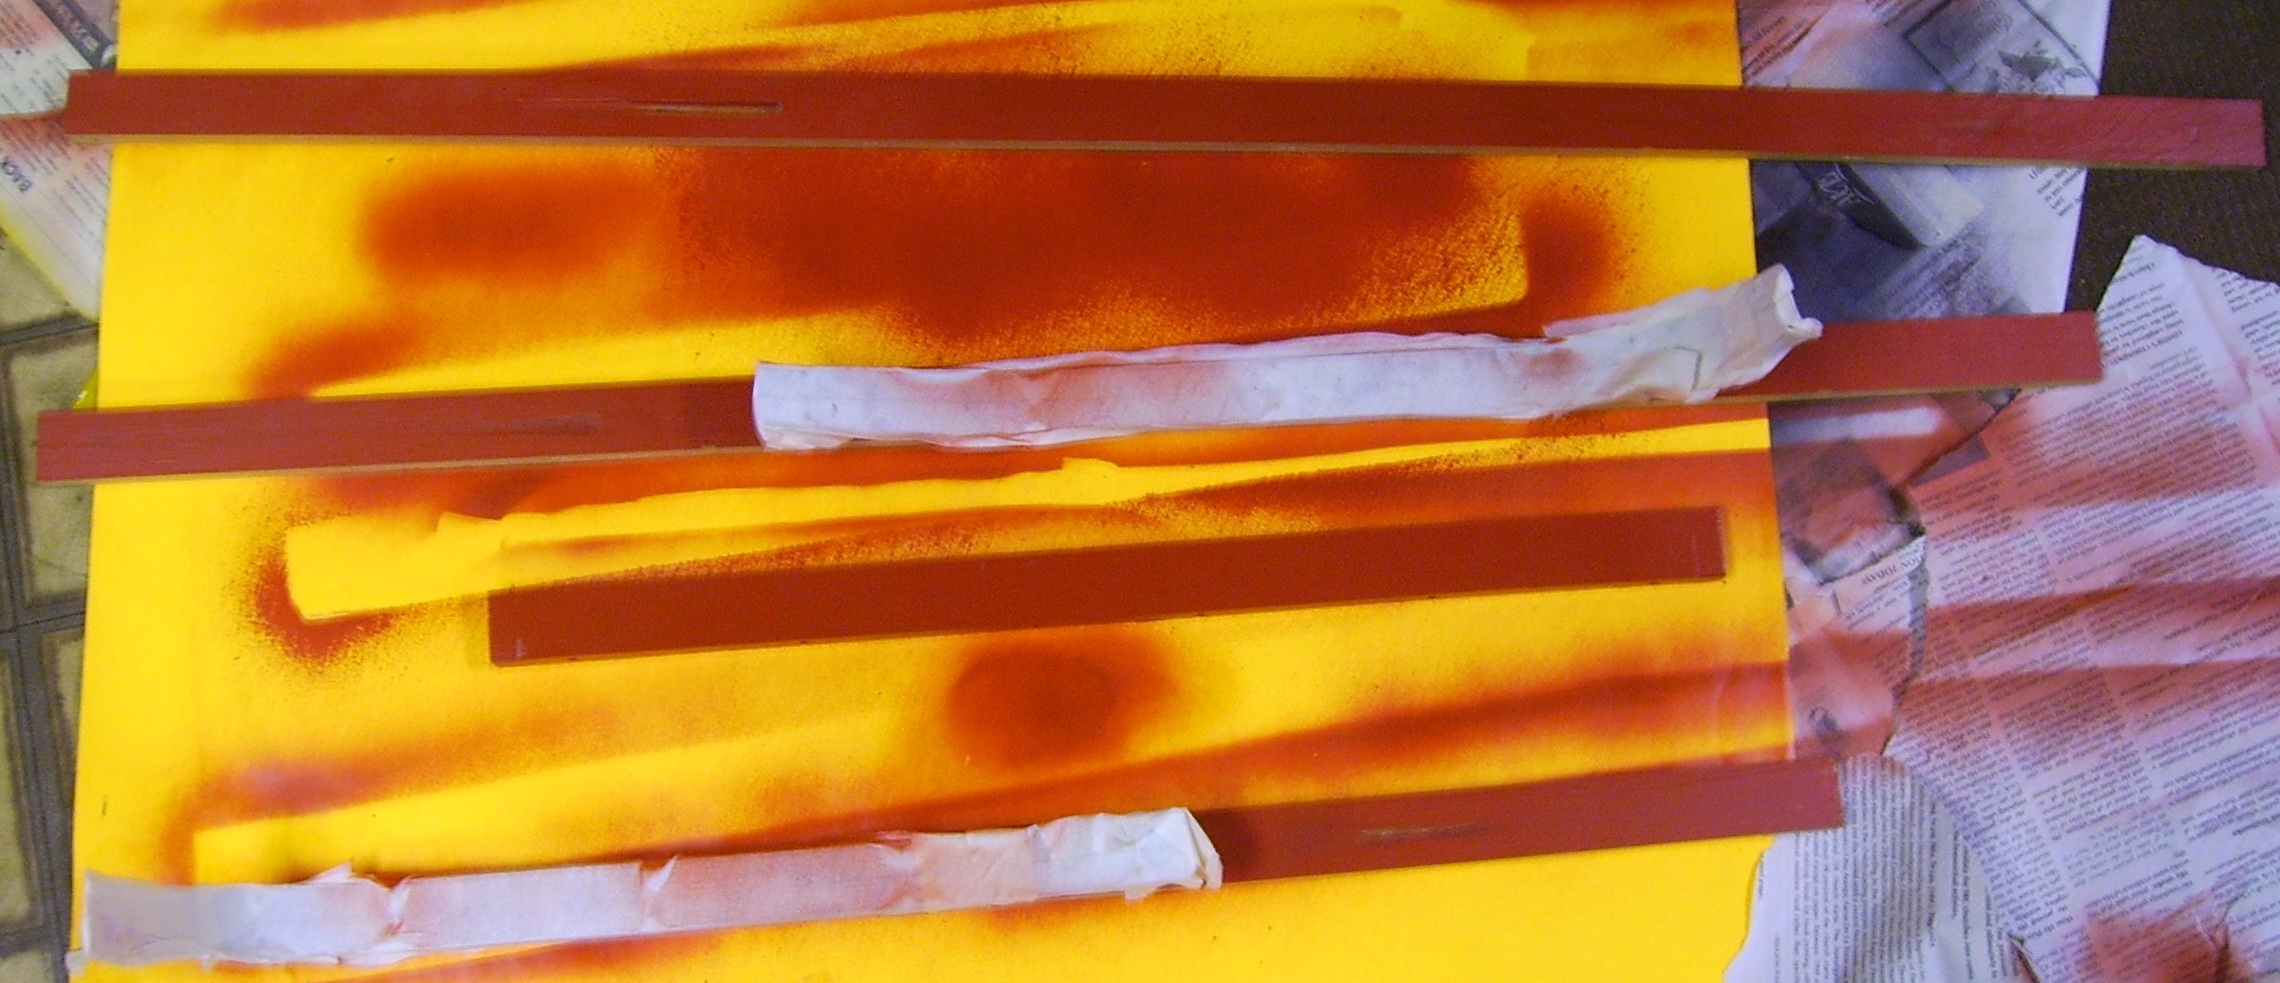
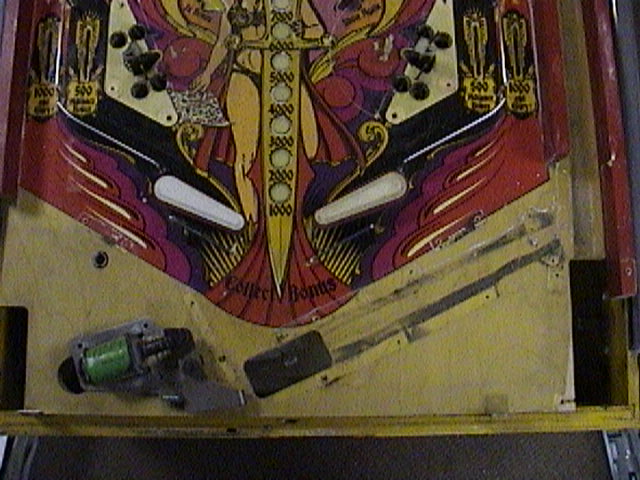
Above is a picture of the playfield rails. These are the wooden rails that serve as the boundary for the playfield and the shooter lane. I have taped off the two metal guides attached to the rails that feed the A and B alleys. Then I have spray painted them red.