Section 2: Playfield
Part 1: Mylar Removal
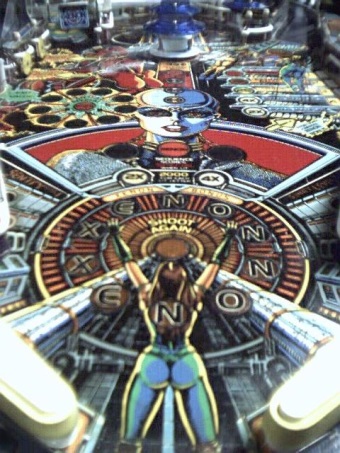
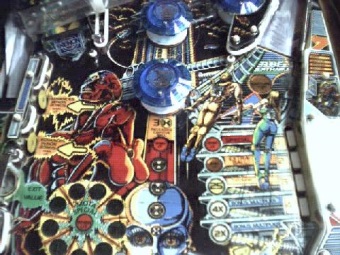
The playfield was in very good condition for a twenty year old pin. It was covered in Mylar, though I don't think that it was covered from day one. The Mylar was in good shape, with just a few edges slightly peeling, which left some dirt under these areas. Above the outhole (below the flippers), there was some playfield wear that someone previously tried to touch up in black. This area was then covered with a scrap piece of Mylar (The original Mylar did not extend below the flippers to the outhole.). The only other flaw on the playfield was a ball track that was worn from the shooter ball gate to the beginning of the Mylar at the top arch. Also, there was some residue left on the playfield from the duct tape that covered the lower saucer.
Originally, I did NOT plan to remove the Mylar since it was in decent shape except around a couple of edges. However, after e-mailing a friend who commented on how good playfields look after Mylar removal, and remembering how good my Silverball looked after removing the Mylar on it, I decided to go ahead and do it. Plus, I was going to have to remove the piece of Mylar below the flippers that covered the touched up spot in that area. I used the same basic technique on the Xenon as on the Silverball to remove the Mylar. It came up much easier this time. However, I did have two very small spots of paint the size of a pencil eraser lift off. One was in a solid area that was easy to touch up. The other was in a more detailed area that was more difficult to touch up. For a description of how I did the Mylar removal see the pictures here and a detailed description in the Silverball section. After removing the Mylar, the game plays super fast. It is amazing the difference in the speed of the game with and without Mylar.
Part 2: Playfield Touch Up
The playfield needed just a little bit of touch up. Basically, there were spots where the paint cracked with the wood grain. This is common on a game this old. To hide these spots, we (my wife and I) matched the color with acrylic paints and put a little on the area. We then wiped it up. This left some paint in the cracks which hid the cracked areas. It was a very effective technique for hiding the paint cracks. (Note: these were not swirl marks, which as far as I know, are impossible to completely remove). This machine had no swirl marks. In fact, the playfield is in very nice shape for one so old. There are no wear spots on the playing area. We matched the paint color by mixing the paint on a clear acetate sheet and holding it next to the area to be matched. We also touched up the area below the flippers (see pics) that had previously been touched up in solid black. We did our best to recreate the original design. I think we did pretty well. Our color match was excellent and the painting went well. Again, the only problem is in matching the gloss of the original paint. The touch up is basically unnoticeable except that it is not as glossy as the original paint job and the texture is not as smooth. Since this is below the flippers, it is basically unnoticeable. Next, I had to remove the residue from the duct tape. Goo Gone worked well to get this off. Actually, we did this when we removed the glue residue left from the Mylar removal.
Part 3: Tube light strip added
When I bought the Xenon, it did not have the light strip that runs behind the tube. In fact, I didn't know that it was supposed to have one. A mistake I made actually helped me learn about it. When I disassembled the playfield to do the cleaning and touch ups, I made detailed drawings to help me when I put it back together. However, my kids took the notebook that had my drawings and lost it. Thus, when putting it back together, I couldn't figure out one section of the ramp assembly. So, I asked for pictures of this area on RGP. Well, was I surprised to find out that it was also supposed to have the light strip. I had always wondered what that connector was for. I assumed it was for a different type of switch on the tube than the one I had. I bought a new light strip from Steve Young at Pinball Resource. I think these were actually made by Tom Callahan.


