Creating Stencils
Do you really need/want to repaint the cabinet?
Before making stencils, first take a good look at the machine you are considering repainting and ask yourself if it is worth it. There is no need to repaint a cabinet that isn't damaged or doesn't have severe paint loss. Most people don't mind some wear and tear and a few collectors actually prefer having a game in its original condition rather than restored.
Do You Really Want To Make Your Own Stencils?
Next, ask yourself do you want to take the time and effort to creating your own stencils when it's possible you can buy professional stencils. Pinball Pimp sells professional quality stencils for many games. The cost is $159-$169 for most games. The kit inlcudes all stencils necessary to do both sides of the cabinet, head, and the front of the cabinet. They are professionally made and cut. If you don't mind spending the money, they are probably a better option than making your own stencils, especially for the more detailed cabinets like Flash Gordon or Space Invaders. Having said that, you can make your own following the process below for quite a bit cheaper. Anyway, if you decide to make your own, here is how I make mine. I've even done Flash Gordon which is very detailed.
Determine the Colors and application order
Making the stencils is not too difficult. Here's how I do it. First, take a good look at the color scheme. Usually there is a base color with two additional colors. Look closely at the colors and determine which order they were applied in. This does make a difference. You can usually tell by looking closely at places where the colors "touch." Original painting was NOT perfect and you can usually see places where one color slightly ovelaps another. The color on top was painted last. Once you have determined the order of the colors, write it down. If you don't, by the time you make the stencils, strip the cabinet, repair the cabinet, and are ready to repaint, you may forget. Trust me, I've forgotten before and had to ask someone else who had the game to "refresh" my memory.
Take Pictures
Next, take pictures. These will be helpful for at least two reasons. One, even though you will be putting placement marks on your stencils, it helps to have a picture in front of you. Once the cabinet is stripped or only one color is applied, even with the placement marks, a picture is helpful in placing the stencil correctly. Second, the picture can help in finding a color match for the paint. Take the picture with you to the store to help match the paint color. With today's phones having such high quality cameras, it's easy to carry some pics with you and find a match.
Plan out the Stencils Needed
After getting the color match, I am ready to make the stencils. In making the stencils, first determine how many you will need to make. Some machines have the same design on both sides. Each side is a mirrored image of the other side. For these games, you only need to make one stencil for each color. The stencil can then be flipped to do the opposite side. Note, however, that you will need to mark the position of the rail and cabinet edges for each side as they are different when you "flip" the stencil. Some machines, such as Gorgar and Globetrotters, require separate stencils for each side as the pattern cannot be "flipped." On these games, think through carefully whether you need to make a new stencil or can just reposition sections of the stencil to get the match. For example, Gorgar is lettered on both sides of the cabinet. While the lettering is the same, its position is totally different due to where the letters are placed on the cabinet. In these instances, you either have to make separate stencils or carefully measure and mark where the different sections go. Consider also whether you will need to have any free standing pieces. Some designs require free standing cutouts to mask areas in the center of the design.
 This picture shows the tracing paper attached to the side of my Flash Gordon. I traced the design onto the tracing paper.
However, since this design used a lot
of straight lines, I ended up taping off the long straight lines instead of using the stencil (for the line areas).
This picture shows the tracing paper attached to the side of my Flash Gordon. I traced the design onto the tracing paper.
However, since this design used a lot
of straight lines, I ended up taping off the long straight lines instead of using the stencil (for the line areas).
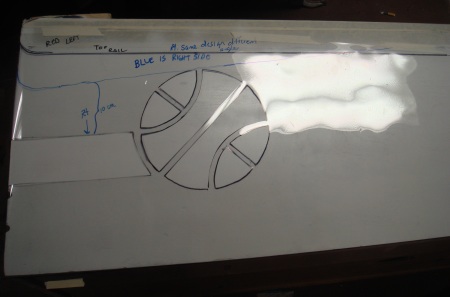
Put placement Marks on the Railing and the Stencil
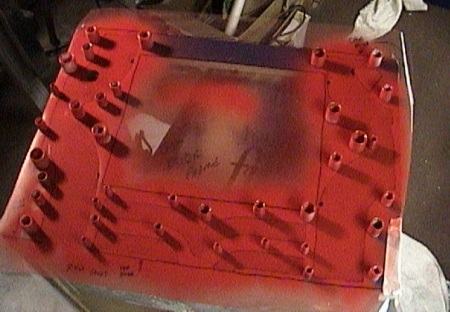
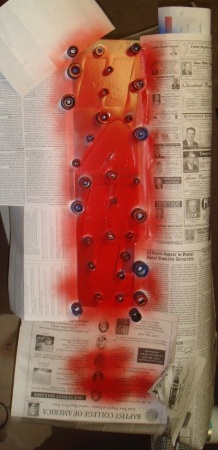
On the stencil be sure to mark the railing and/or the cabinet edges and make some measurements from key spots. If you can remove the cabinet rails, it will make it a lot easier to position your stencils. Having said that, I've done games without remvoving the rails. If you do not remove the rails, you will have to tape them off for repainting. I then put some placement marks on the railing tape and/or the cabinet edges. If marking the cabinet itself use something that can be painted over that will not bleed through the paint. These marks will help you line them up later. Note that you will want to cover the placement marks on the railing tape with paper when you paint. (continued p. 2)
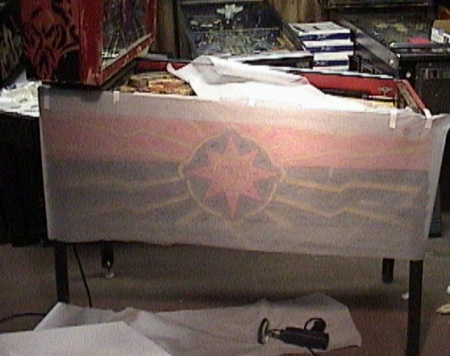
 Here, the blue line on the acetate is from the cabinet rail on the opposite side. Then there is a measurement mark below this to help me align it on the other side. In this case,
while the stencil couldn't be "flipped," this portion could be. I just needed to measure where it needed to be placed on each side. This is one of those cases that it pays to plan
out your repaint before you strip the cabinet.
Here, the blue line on the acetate is from the cabinet rail on the opposite side. Then there is a measurement mark below this to help me align it on the other side. In this case,
while the stencil couldn't be "flipped," this portion could be. I just needed to measure where it needed to be placed on each side. This is one of those cases that it pays to plan
out your repaint before you strip the cabinet.