Section 2: Cabinet
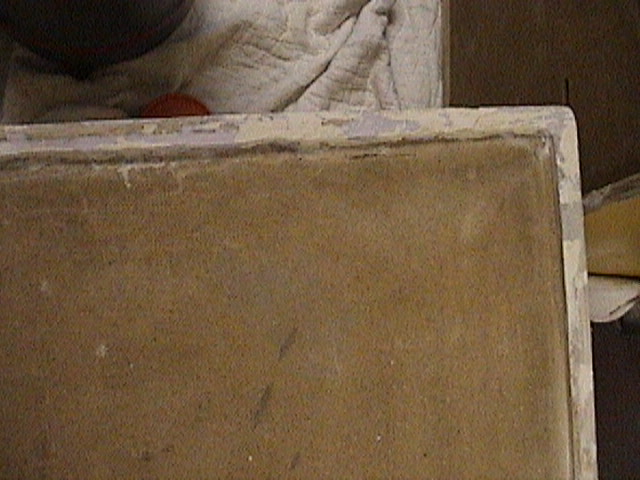
The cabinet was the worst cabinet I have ever repaired. Besides the usual scratches and dings, the sides needed major repair work and a brace was broken.
I had already made a set of stencils for this game for the first Strikes and Spares I restored. I used the same technique as described on Flash Gordon, Silverball Mania, and Alien Poker. The Flash Gordon section has detailed description of how to make the stencils.
I laid the stencils on the cabinet to make sure that they lined up correctly. Once I was satisfied with the stencils, I stripped the old paint off of the cabinet. I used Citrus Strip. IMHO, this is the best stripper on the market. It works better than a lot of other strippers, and it is safe to use indoors.
After stripping the cabinet, I had to fix all of the imperfections, dents, and dings. I used both wood filler and Bondo for this process. The wood filler works great for the smaller imperfections and is easy to work with. Bondo is great for bigger dings. This cabinet had several sections that needed Bondo. To repair the damage to the frame underneath, I had to use wood strips that I laid against the underside of the frame. I then used these as guides for putting in the Bondo. It was similar to how they use forms and then pour concrete to make curbs. I did the same with the cabinet sides except I used Bondo. I then sanded the cabinet with 150, 300, 400 grit sandpaper wiping it with mineral spirits in between to remove the particles.
Next came the actual painting. I taped off the metal rails and other areas where I didn’t want to get over spray. I always use Krylon paints for the cabinets because you can recoat at any time without any lifting. The only problem I had was that since the stencil had already been used, it had curled up on some of the edges. This caused some of the designs to not be as precise.
In painting this cabinet, like the other Strikes and Spares, I did prime the cabinet (which I usually don’t do). However, because the colors being used were “light,” I decided to prime the cabinet with a light coat of flat Krylon white paint. I then painted the entire cabinet yellow/gold. Then I applied the white and then the orange.
Again, when the cabinet was finished, I was amazed at how good it looked compared to what it looked like originally. While this definitely wasn’t my best looking finished product, when you compare it to where it started, it did turn out well.
SECTION 3: Backglass
The backglass on this game, unlike the cabinet, was almost perfect. There was no peeling, flaking, or problems with the paint. I sealed the back of it using Krylon Triple thick. I taped off the score and credit windows and then applied two light coats in each direction. The lift channel did have quite a bit of rust. I was able to remove most of it using Eagle One Never Dull Chrome wadding. The only flaw on this backglass was one small scratch in the upper left corner.
SECTION 4: Miscellaneous
- I installed new reproduction bumper caps. They make a less than perfect playfield look good.
- I installed new bumper bodies and skirts.
- I dry tumbled all of the small metal parts to make them shiny.
- I polished all of the large metal areas with Never Dull.
- I installed new coil sleeves on all bumpers and flippers.
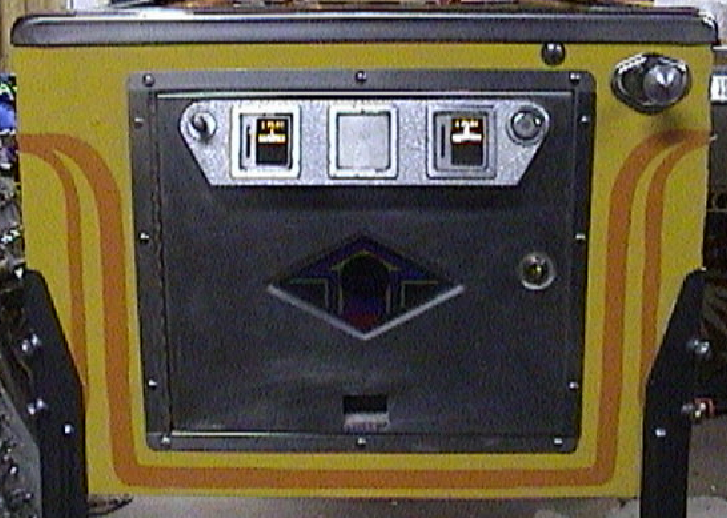
- I polished the coin door with polishing compound and a drill.
- I put on a new Bally sticker on the coin door.
- I repainted the legs gun metal gray.
- I repainted the lock down bar’s internal metal pieces chrome color.
- I put on new leg levelers. These really add a nice touch to a game.
- I put in a new coin door lock.
- The playfield was cleaned and waxed.